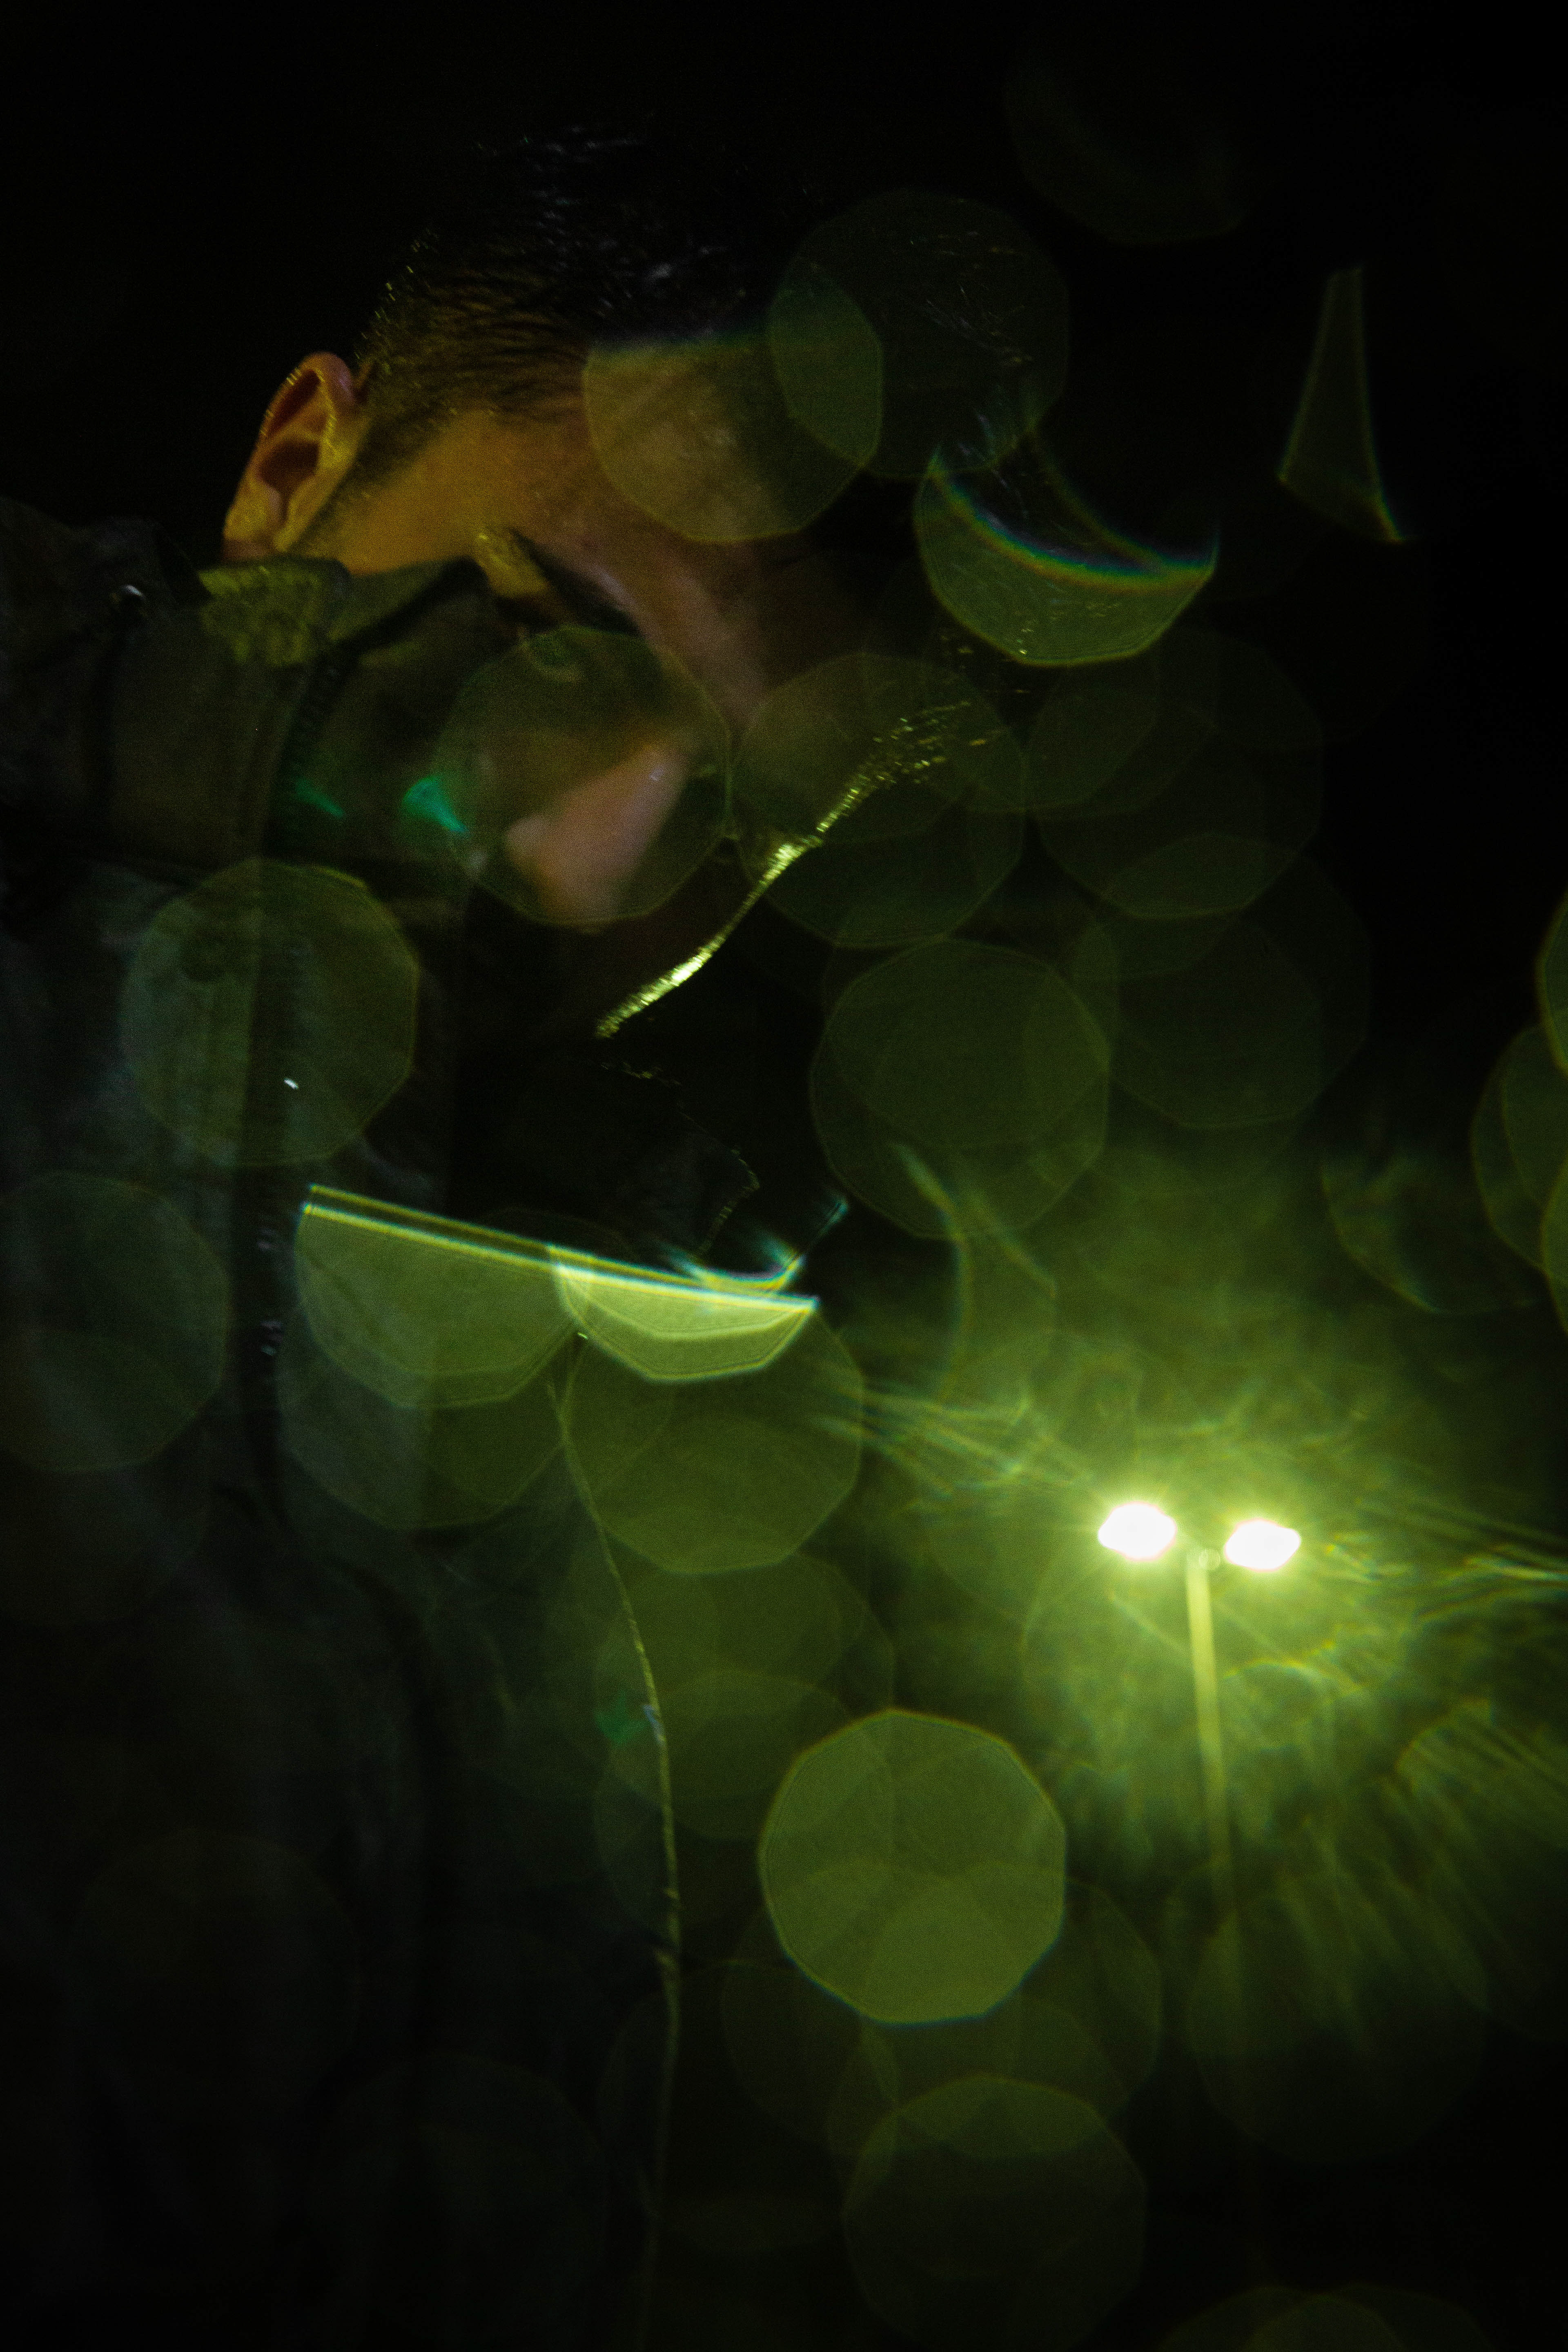
Hello fellow idiot photographers! Let us talk about night photography. Night photography is more difficult for a host of reasons, there is little to no light, and if there is light, it is coming from specific points in an image like street lamps and such so you have to meter for EVERY light in a photo. Photos can be extremely grainy due to this thing called ISO which I will explain later in this blog. Photos will be shaky if being held by hand, unless your shutter speed is high or you have a tripod, your photos will absolutely be blurry, and the worst thing for every beginning photographer, you can’t use automatic like you do during the daytime. You need to know what you are doing.
Let me talk about my experience with night photos, chances are you have all had the same problems, too. Back when I was a high schooler I told my friends once the sun is down we need to go home, I won’t be able to get photos anymore. I couldn’t focus on my subject, and if I could all the photos will be blurry. Fast forward to my sophomore year of college during winter break. I went out of my house to capture some night photos only to realize everything was shaky. I thought I broke my camera somehow and I even called Canon (shout out to their customer service lady who told me I was a liar when I said one of my buttons didn’t exist on my model.) But what was I doing wrong? Why were all my photos so bad?
Before you continue I want you all to check out these links to help you understand what aperture, shutter speed, and ISO is. To shortcut some of this and save you about ten minutes total, aperture will affect the sharpness between your subject and the background (at the cost of your aperture letting in more or less light). For example an f/stop (the size of the hole in your lens) of 2.8 will have your subject be the only thing in focus and the background blurry, however your camera will be letting in a lot of light because at f/2.8, your camera’s hole is wide open! Keep in mind, not every lens can open that far, so you will need to buy something like a 50mm lens or an 85mm to go to f/2.8 or below.
Shutter speed is the speed at which your shutter takes the photo. It can make a runner freeze in time, or to contrast, a runner appears to have blurry Roadrunner legs. A quick tip I recommend is for any general photography you do, keep your shutter speed at 250th of a second. This will make sure there are no big blurs from people just walking and it will still be letting in enough light. Shutter speed is your gateway to night photography but let me tell you why. With a standard camera you can manually set your shutter anywhere between 30 seconds or 8000th of a second. This is how long you will be letting light into your camera, however, any speed lower than a 30th of a second will often require you to have a tripod. So, by having your shutter open for over 30 seconds you could have an extreme amount of light pour through and in an extremely dark night, you can catch details like never before.
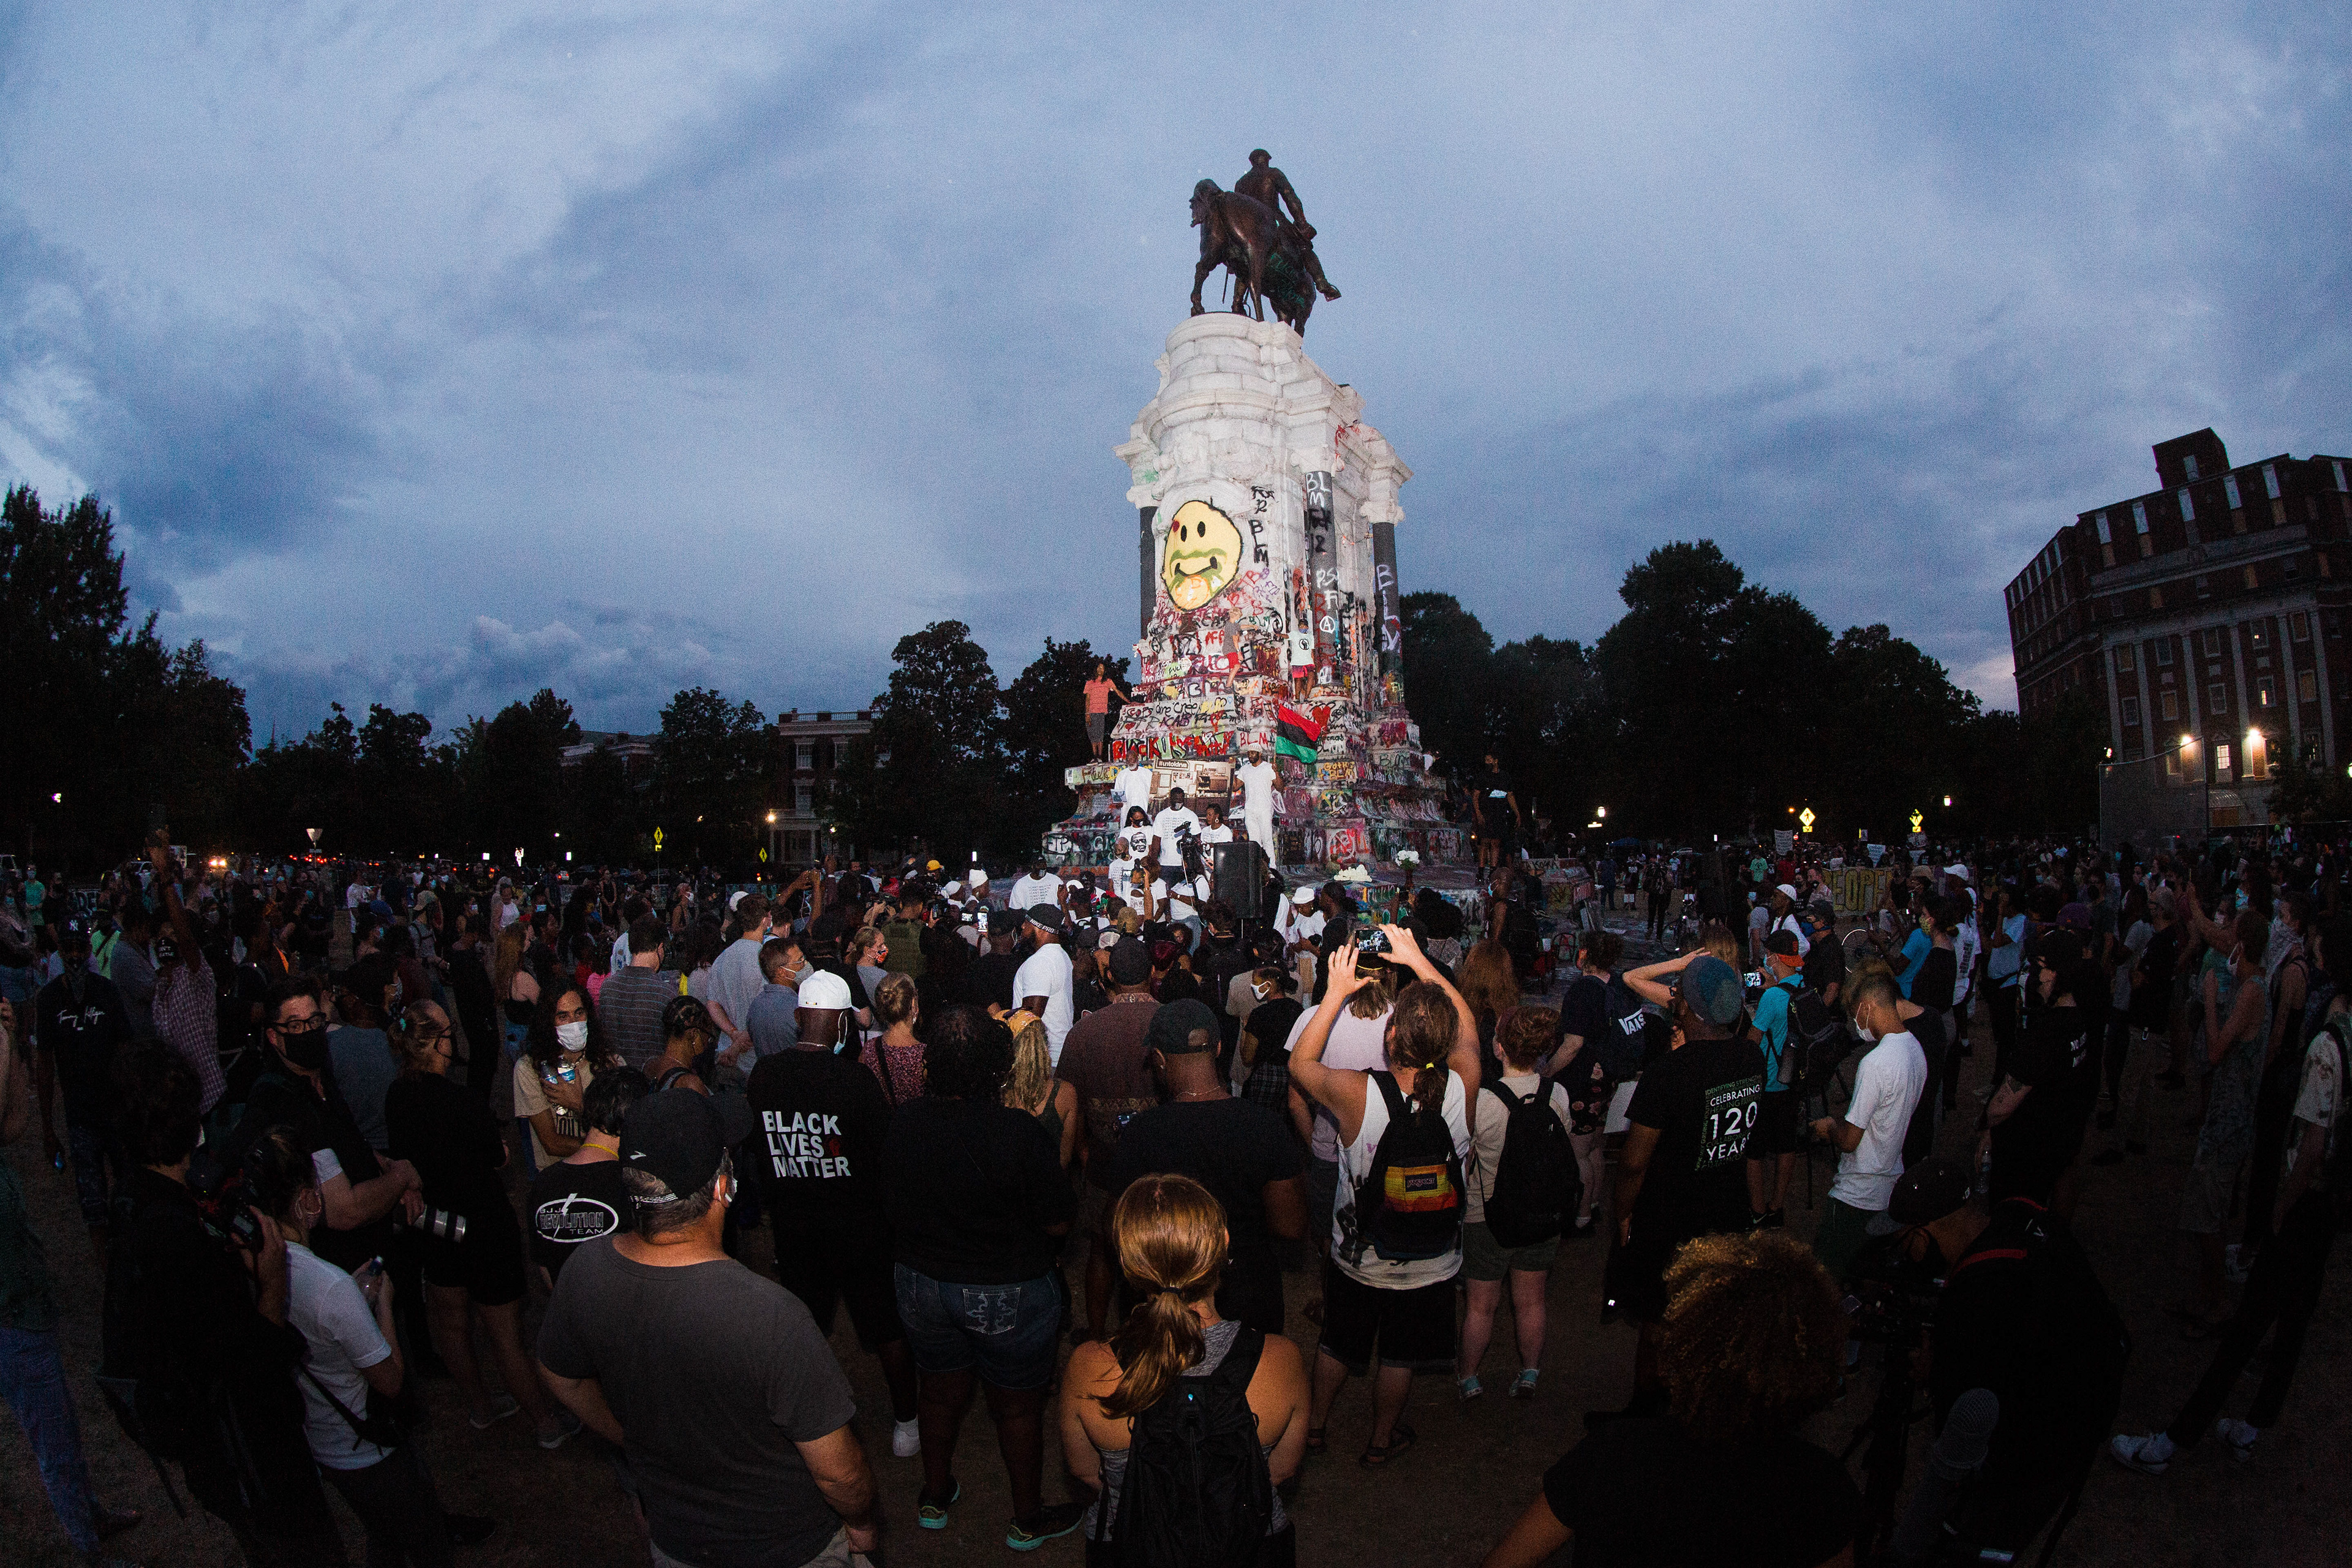
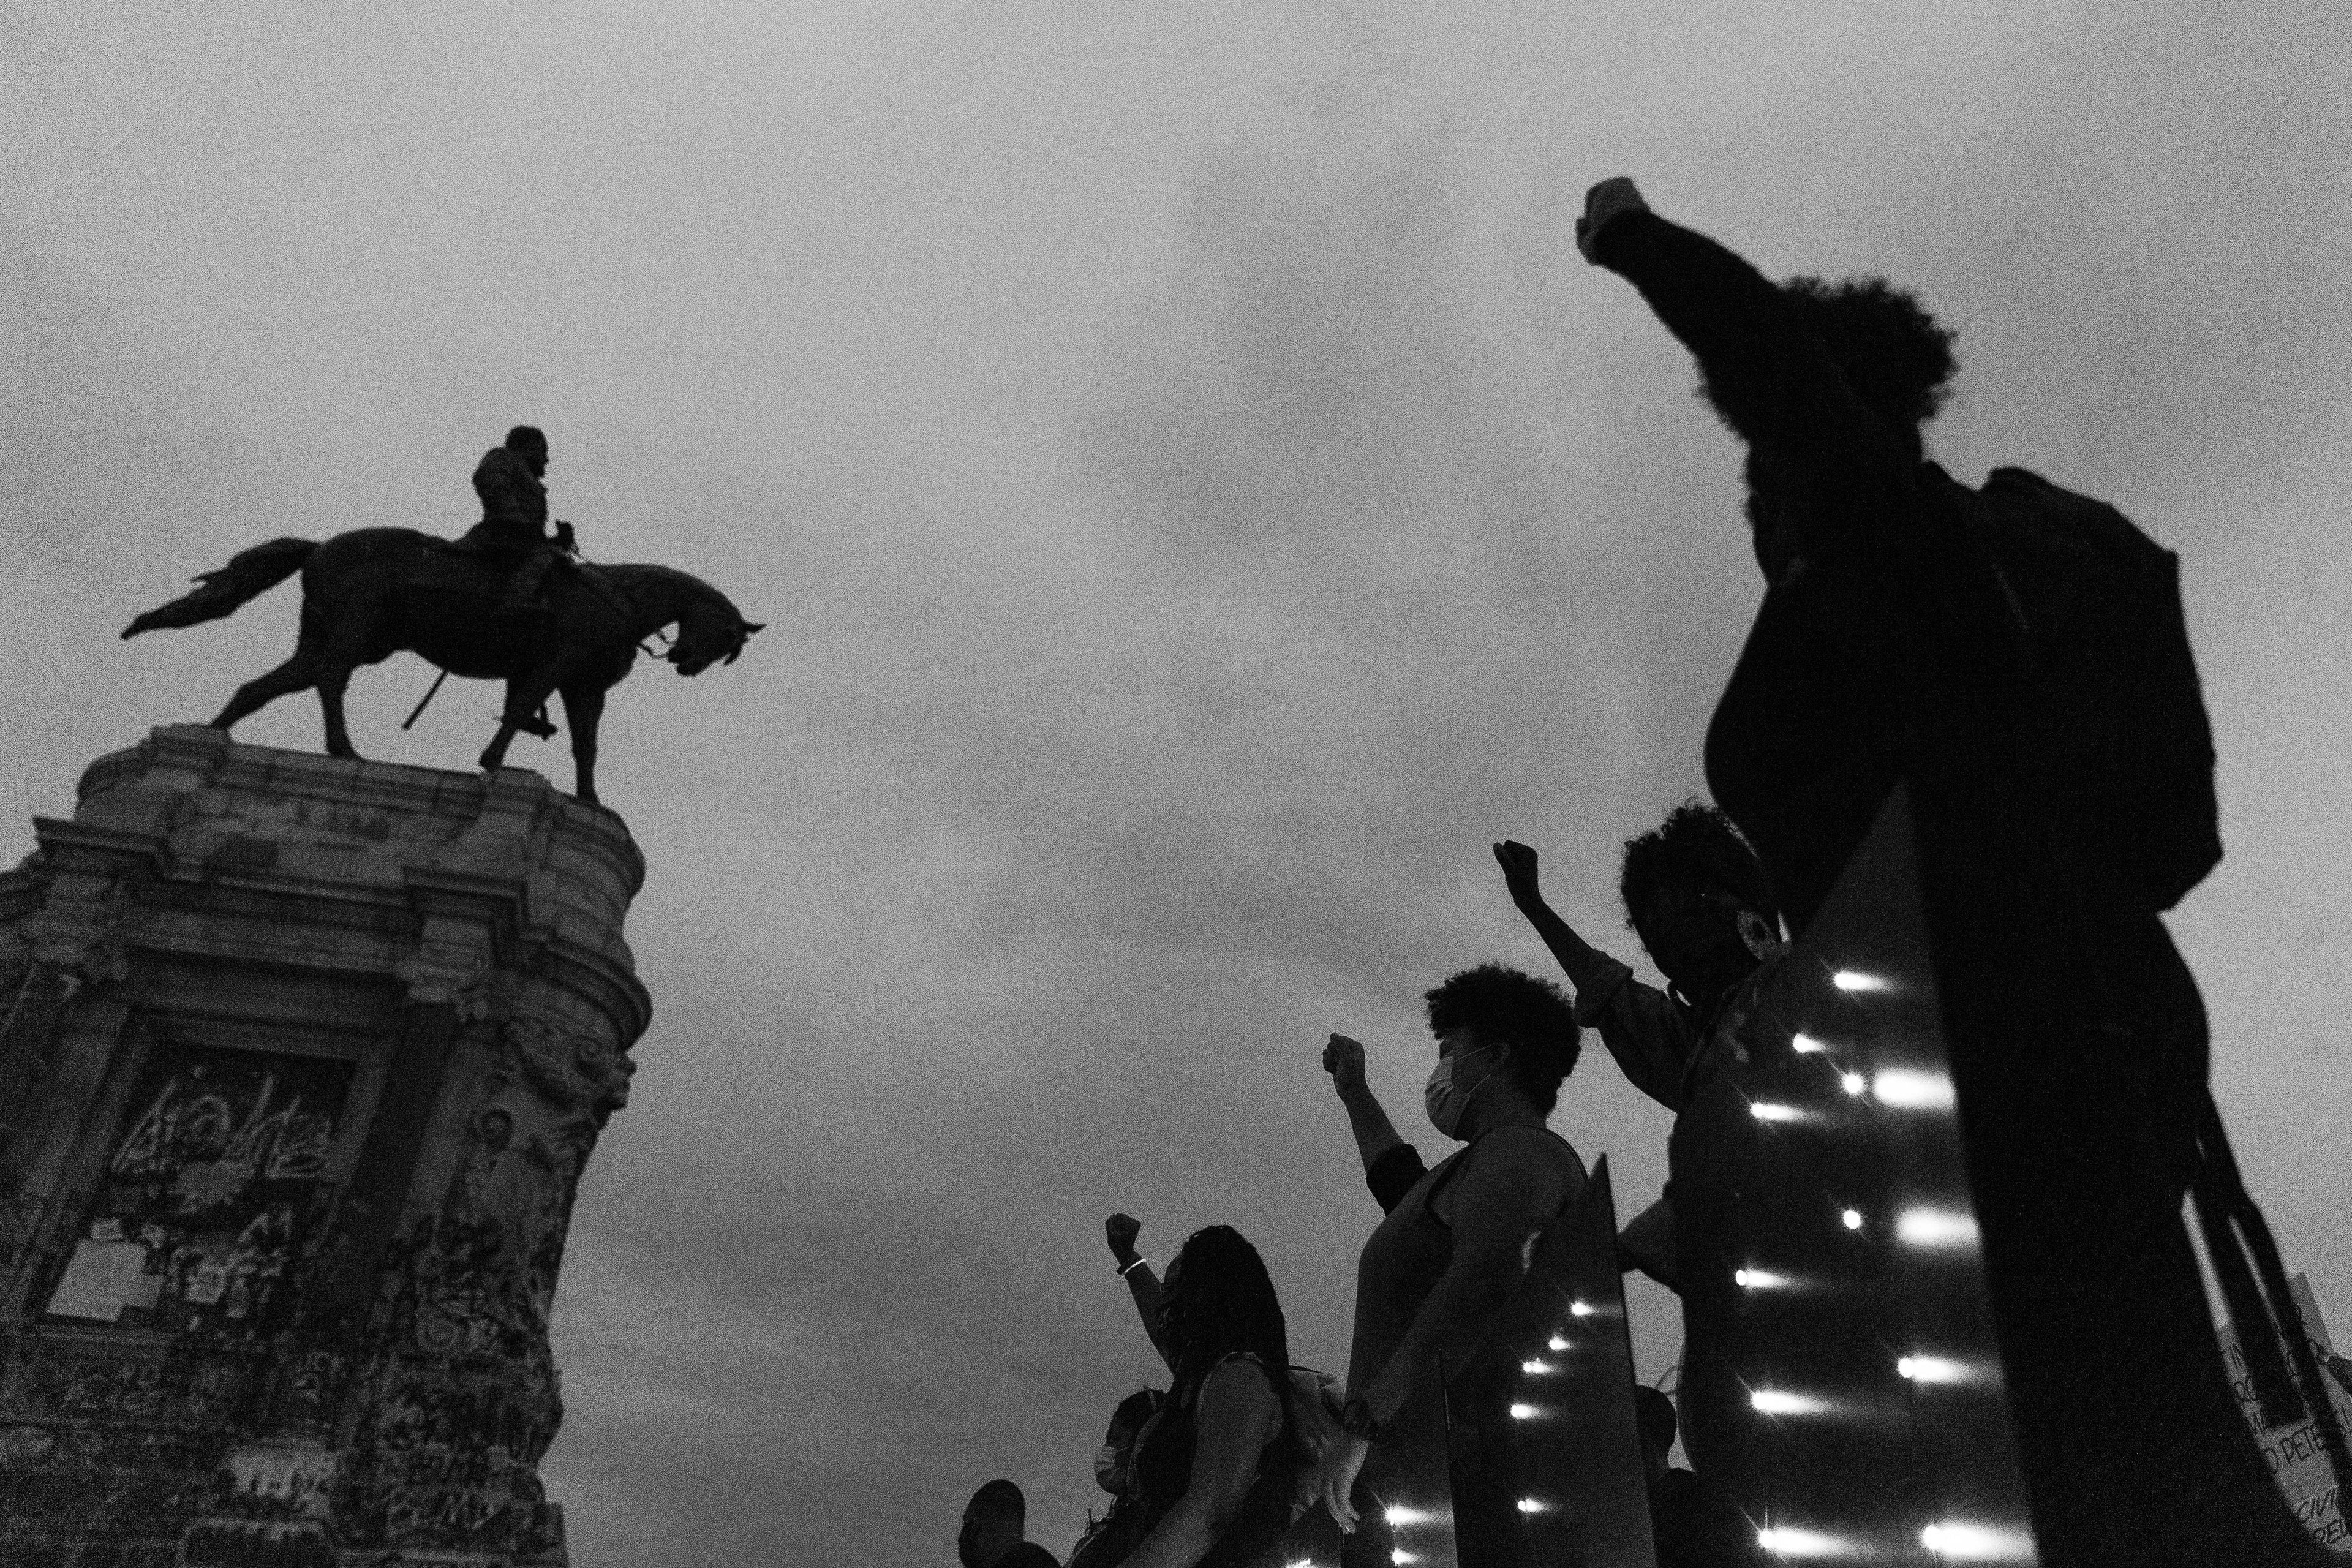
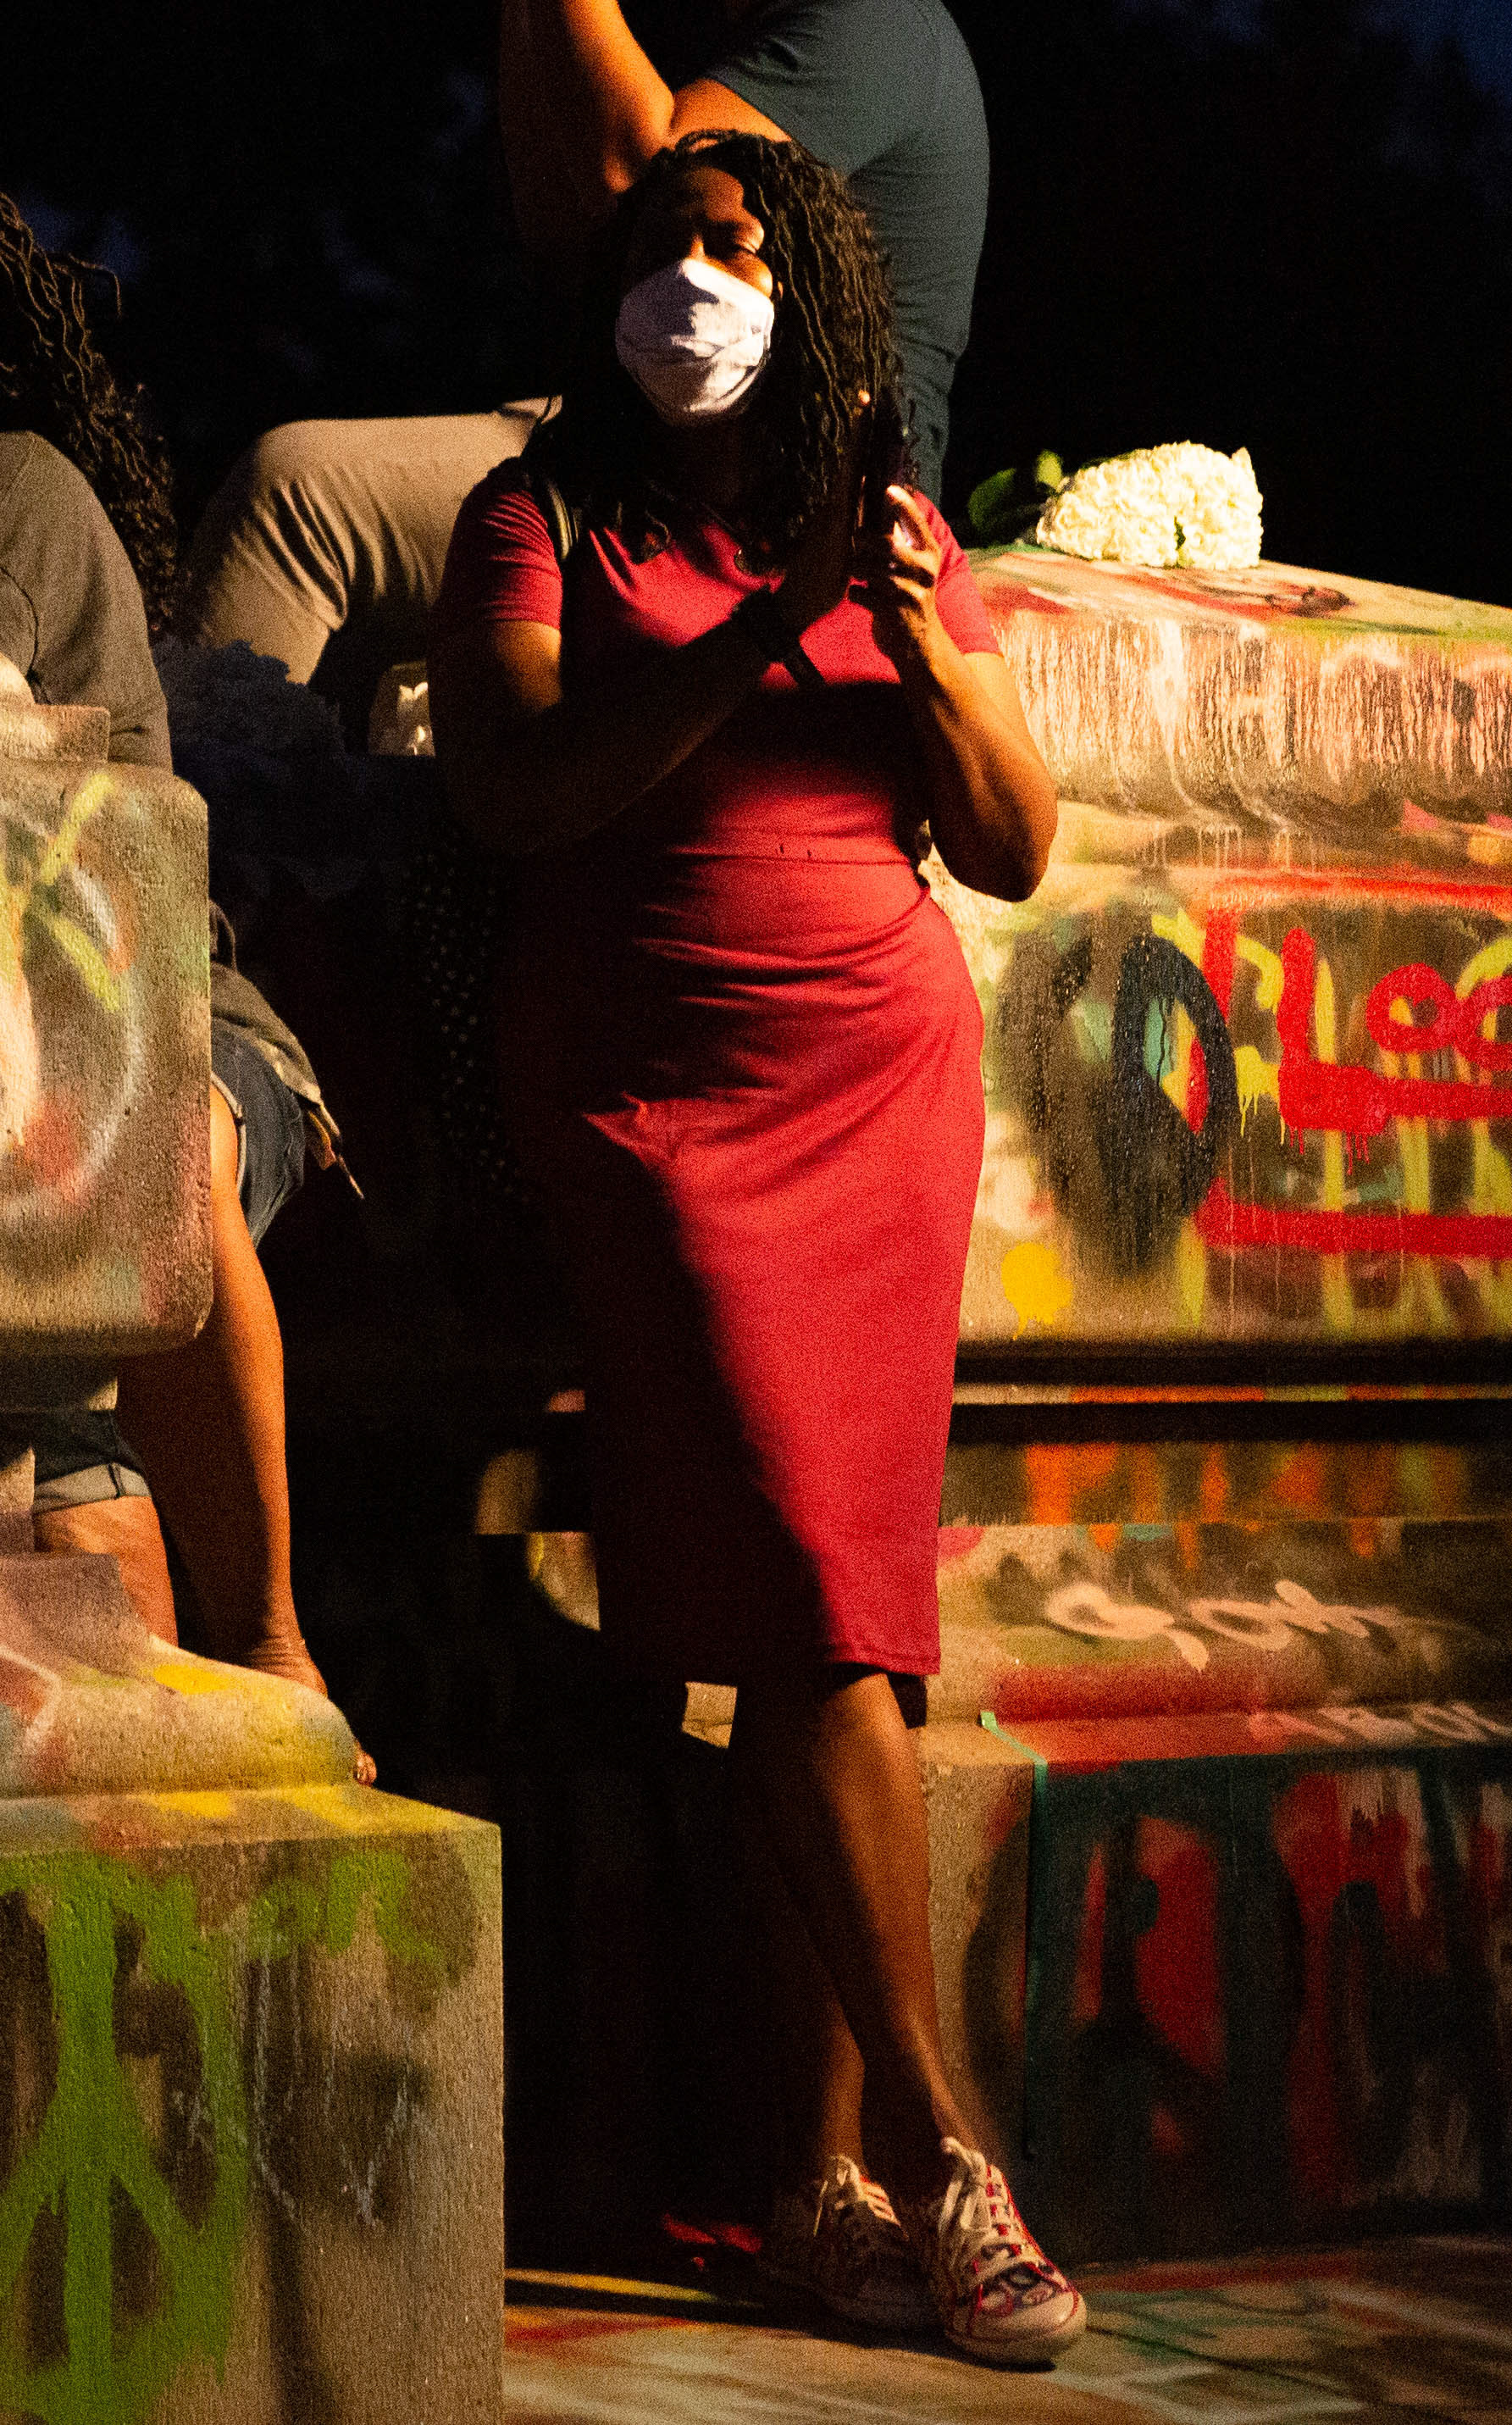
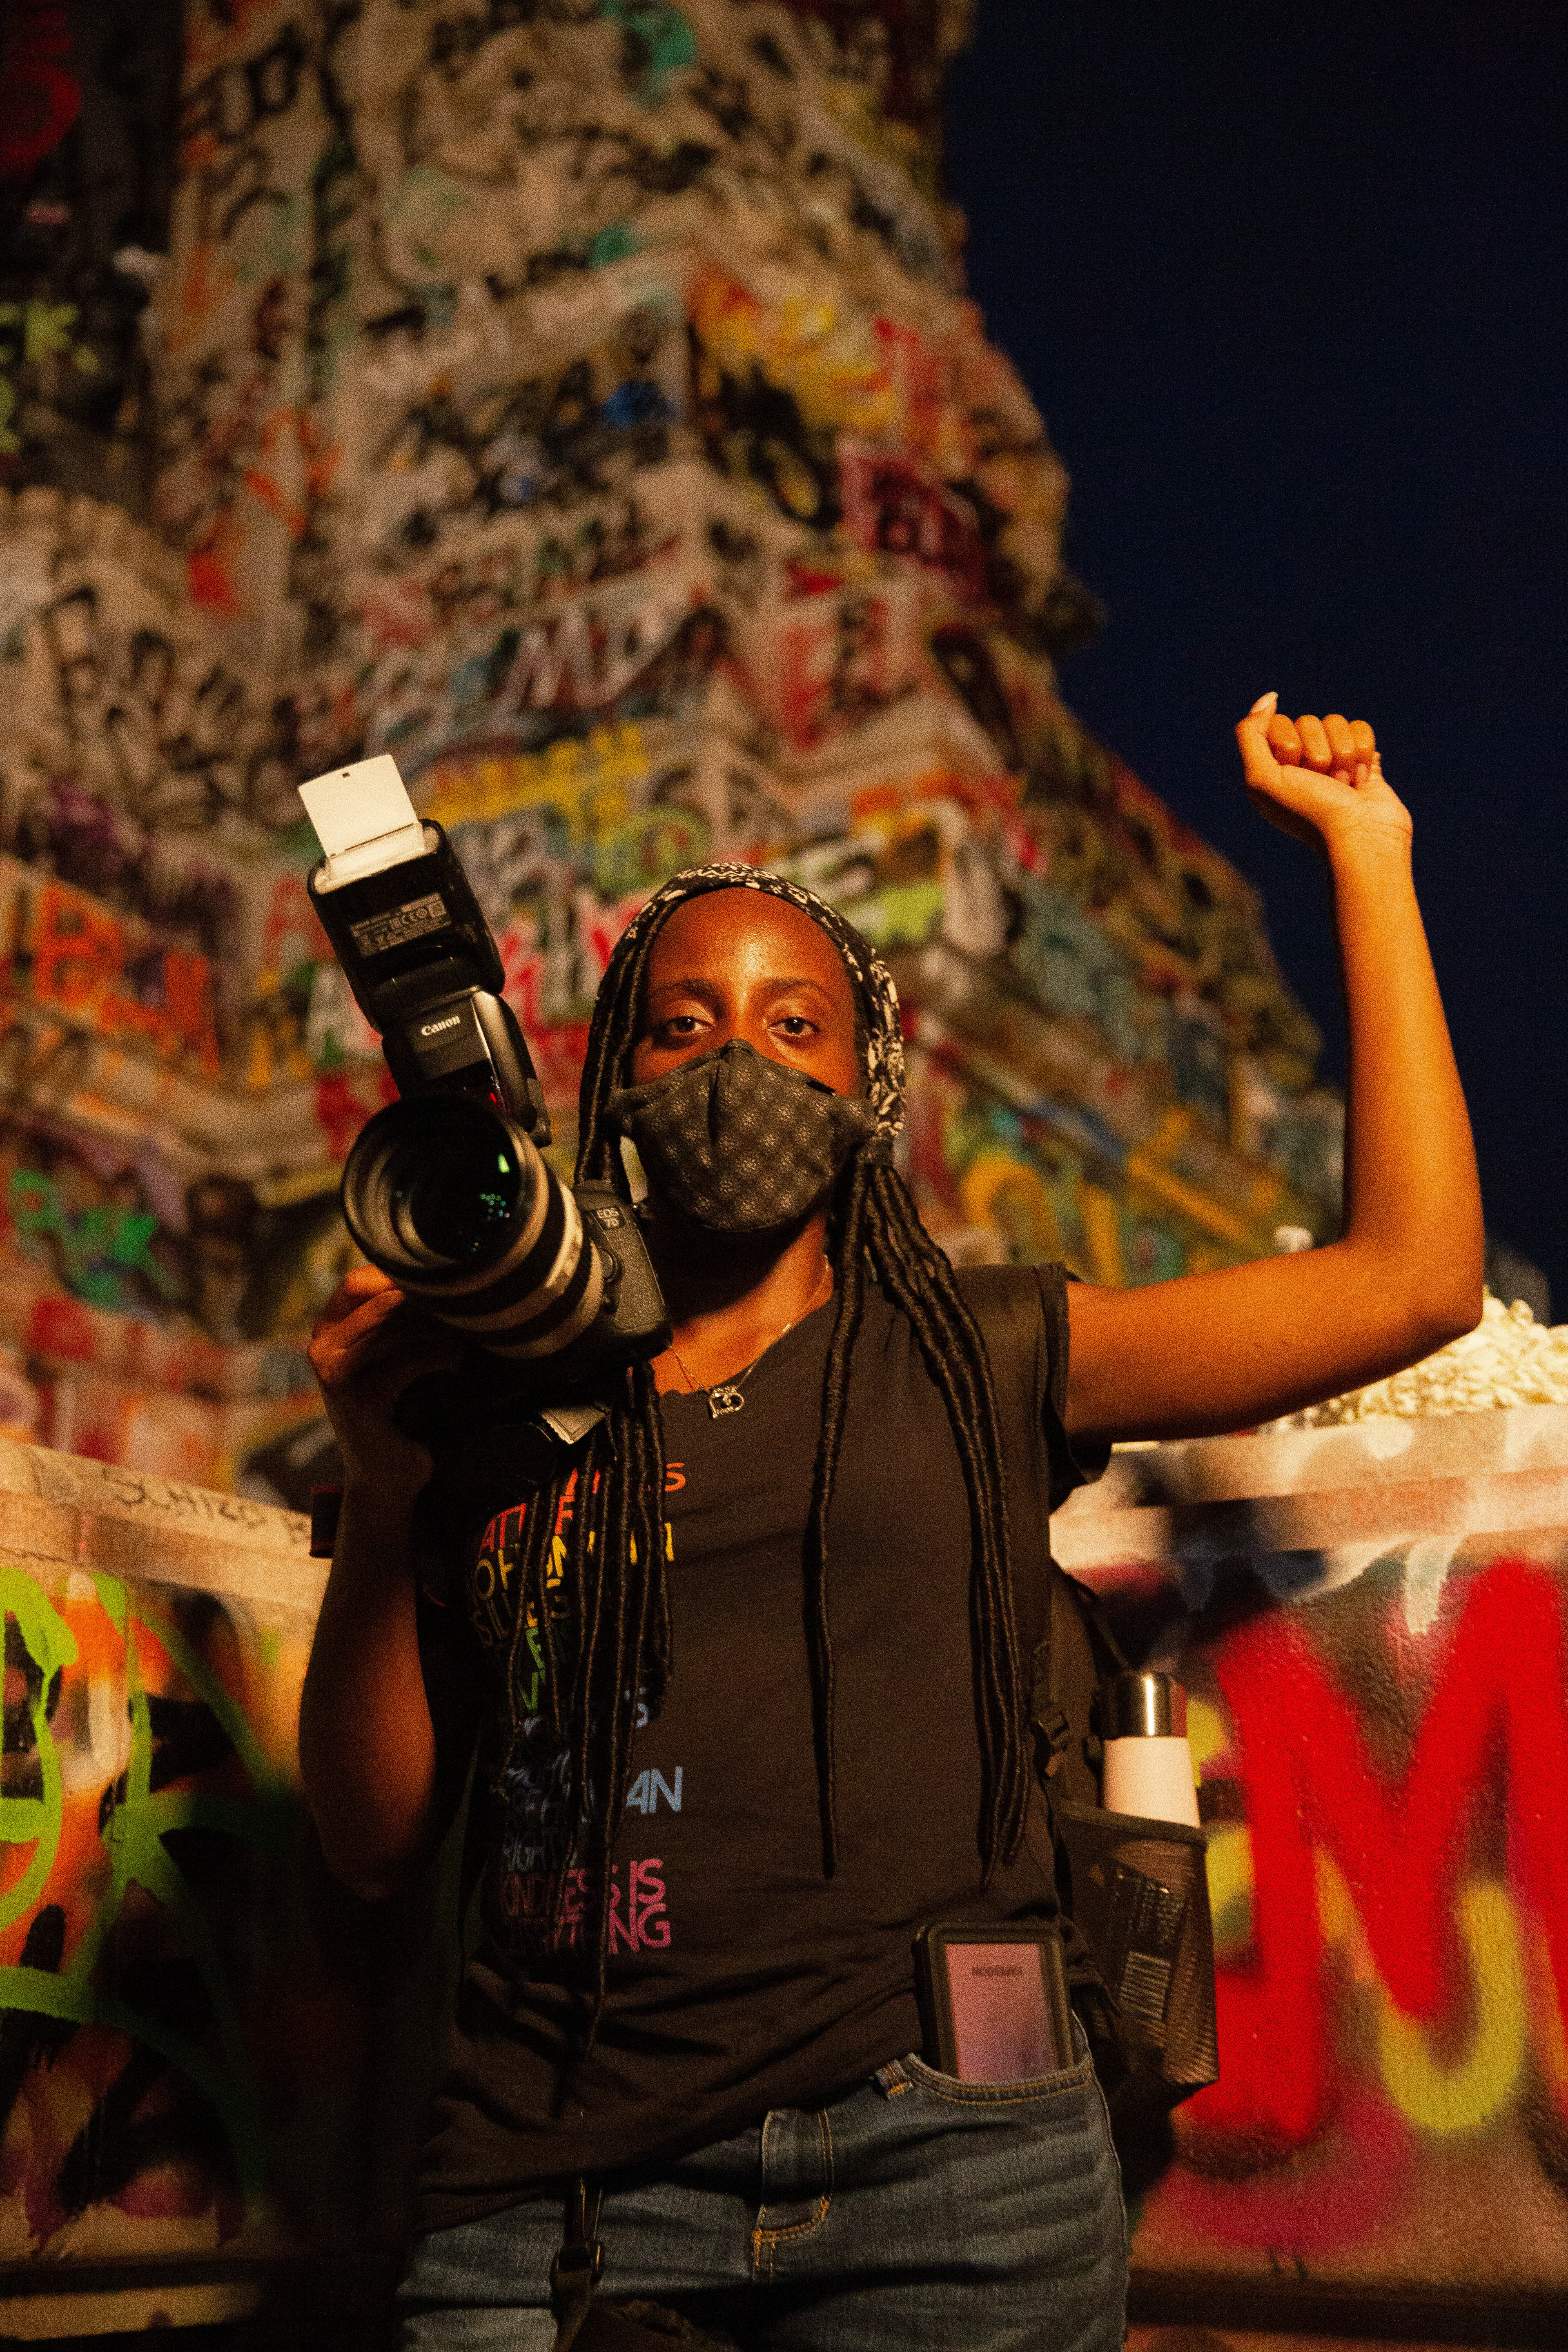
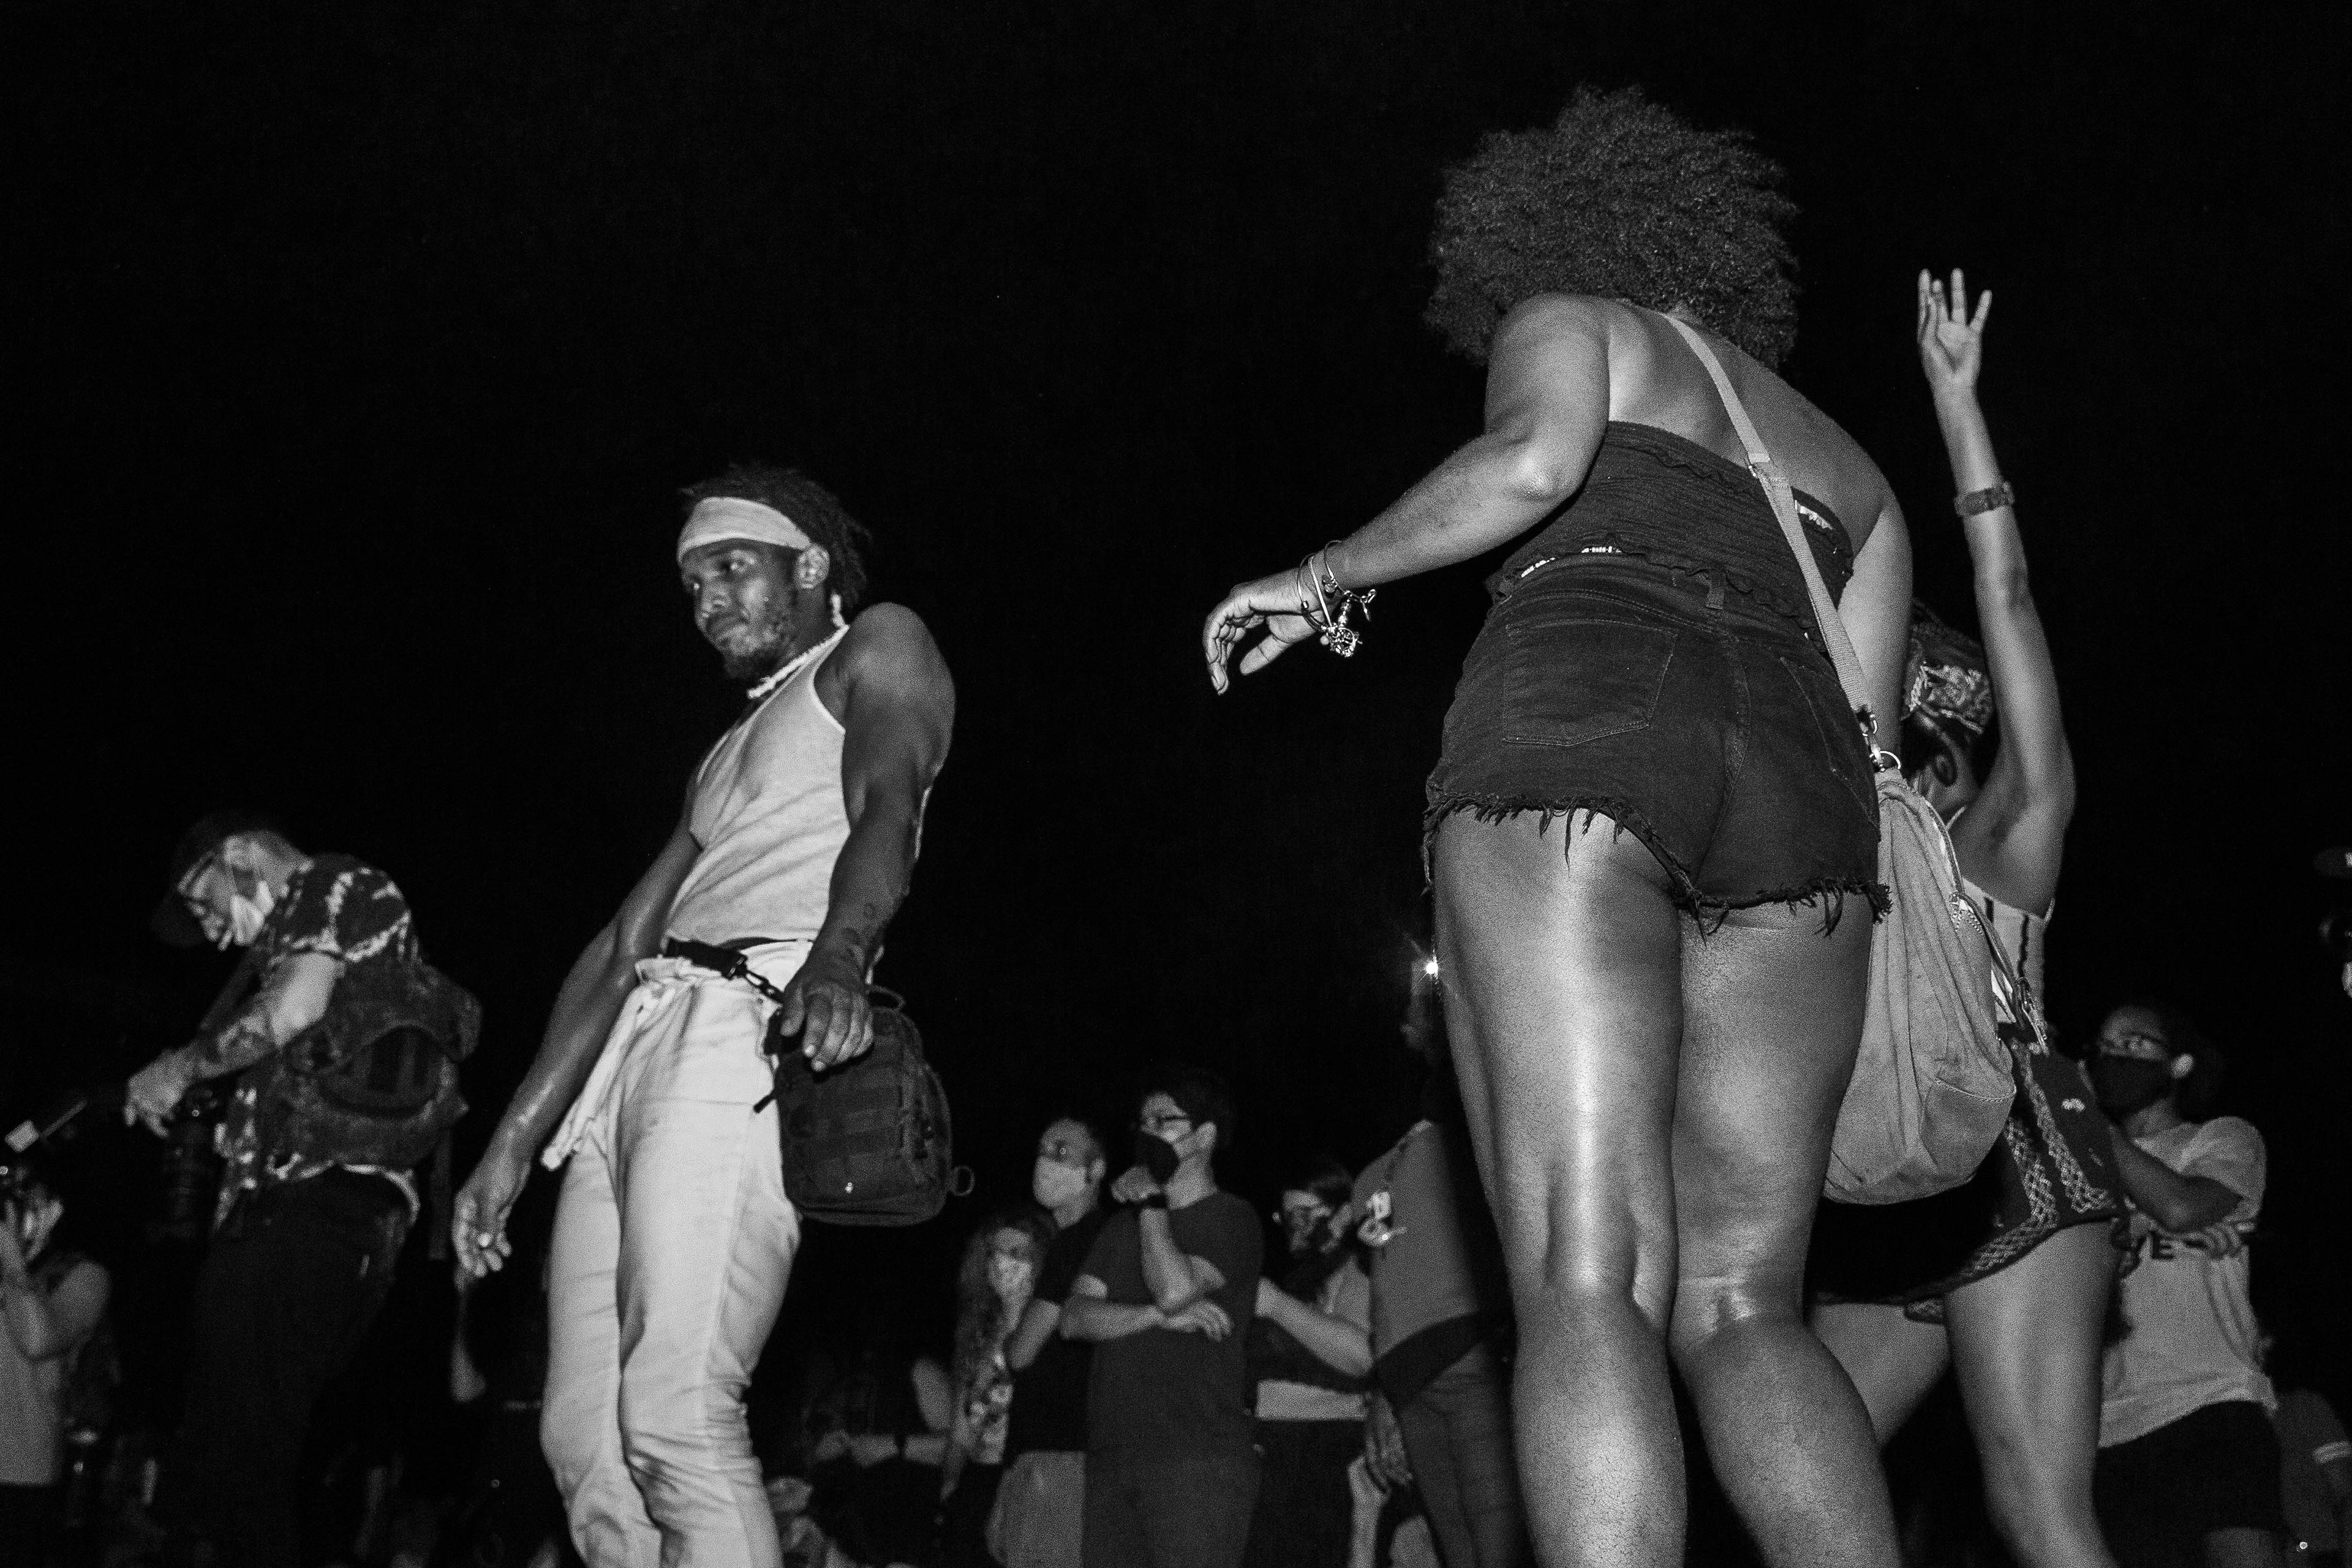
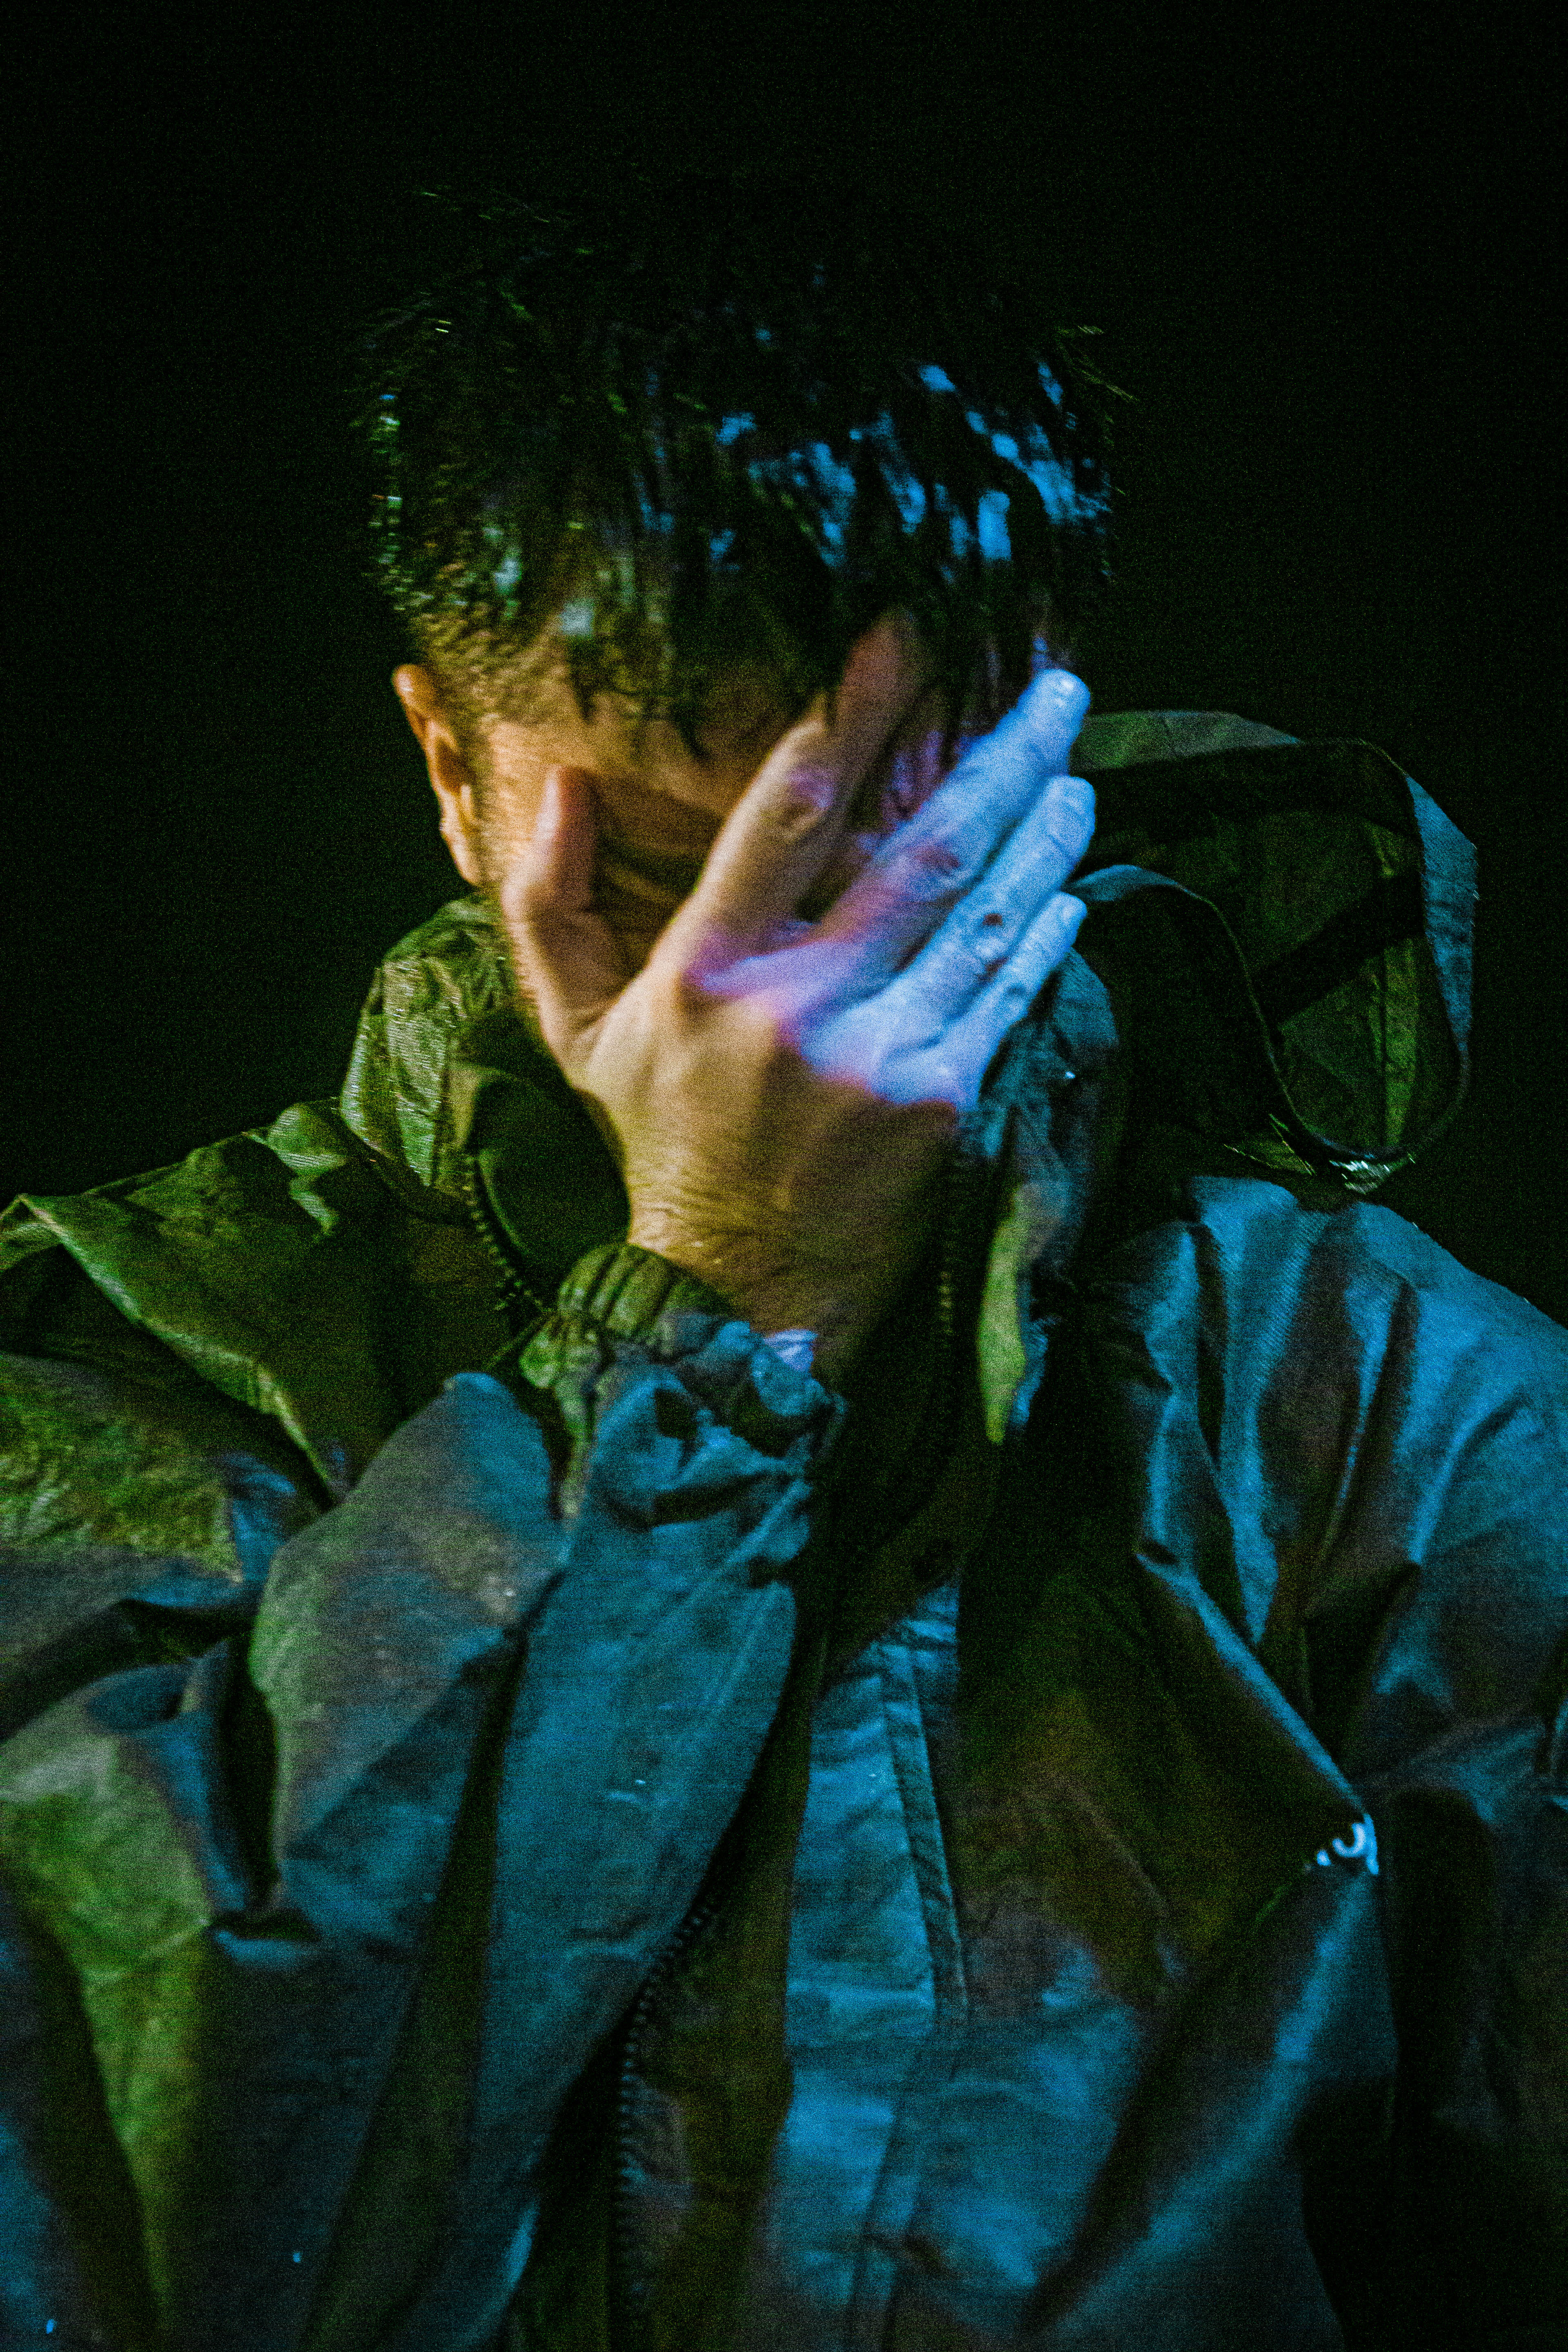
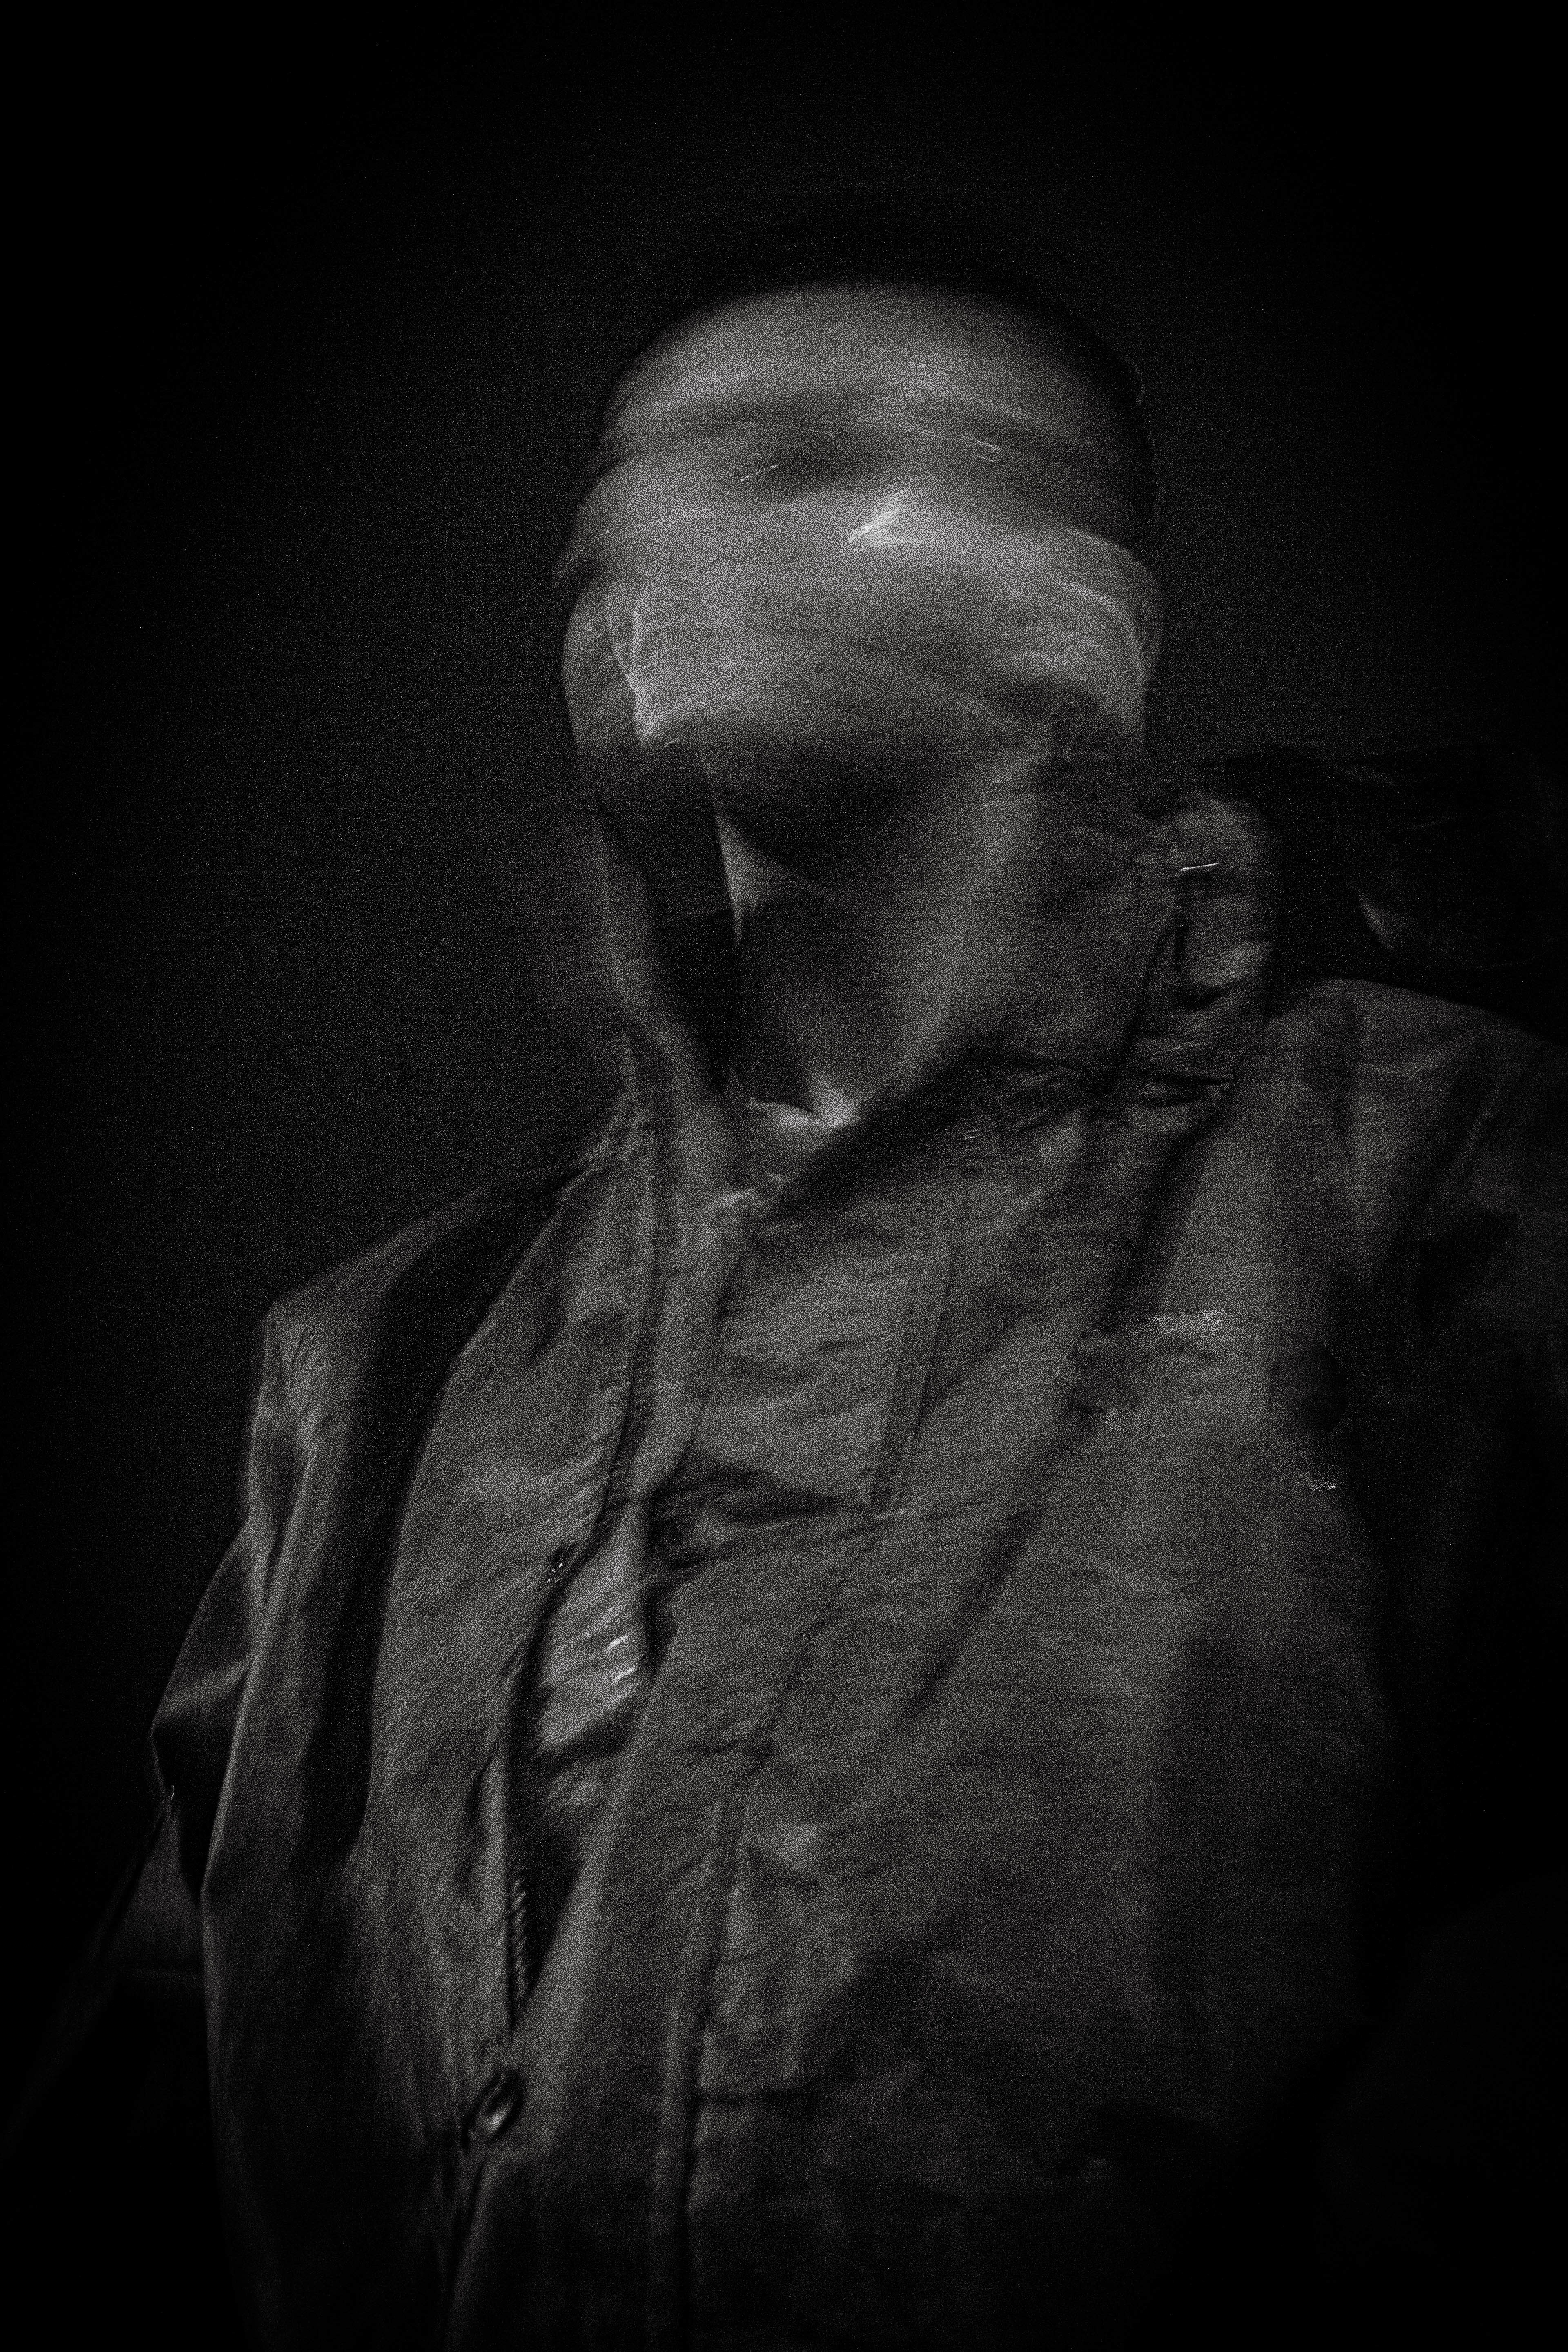
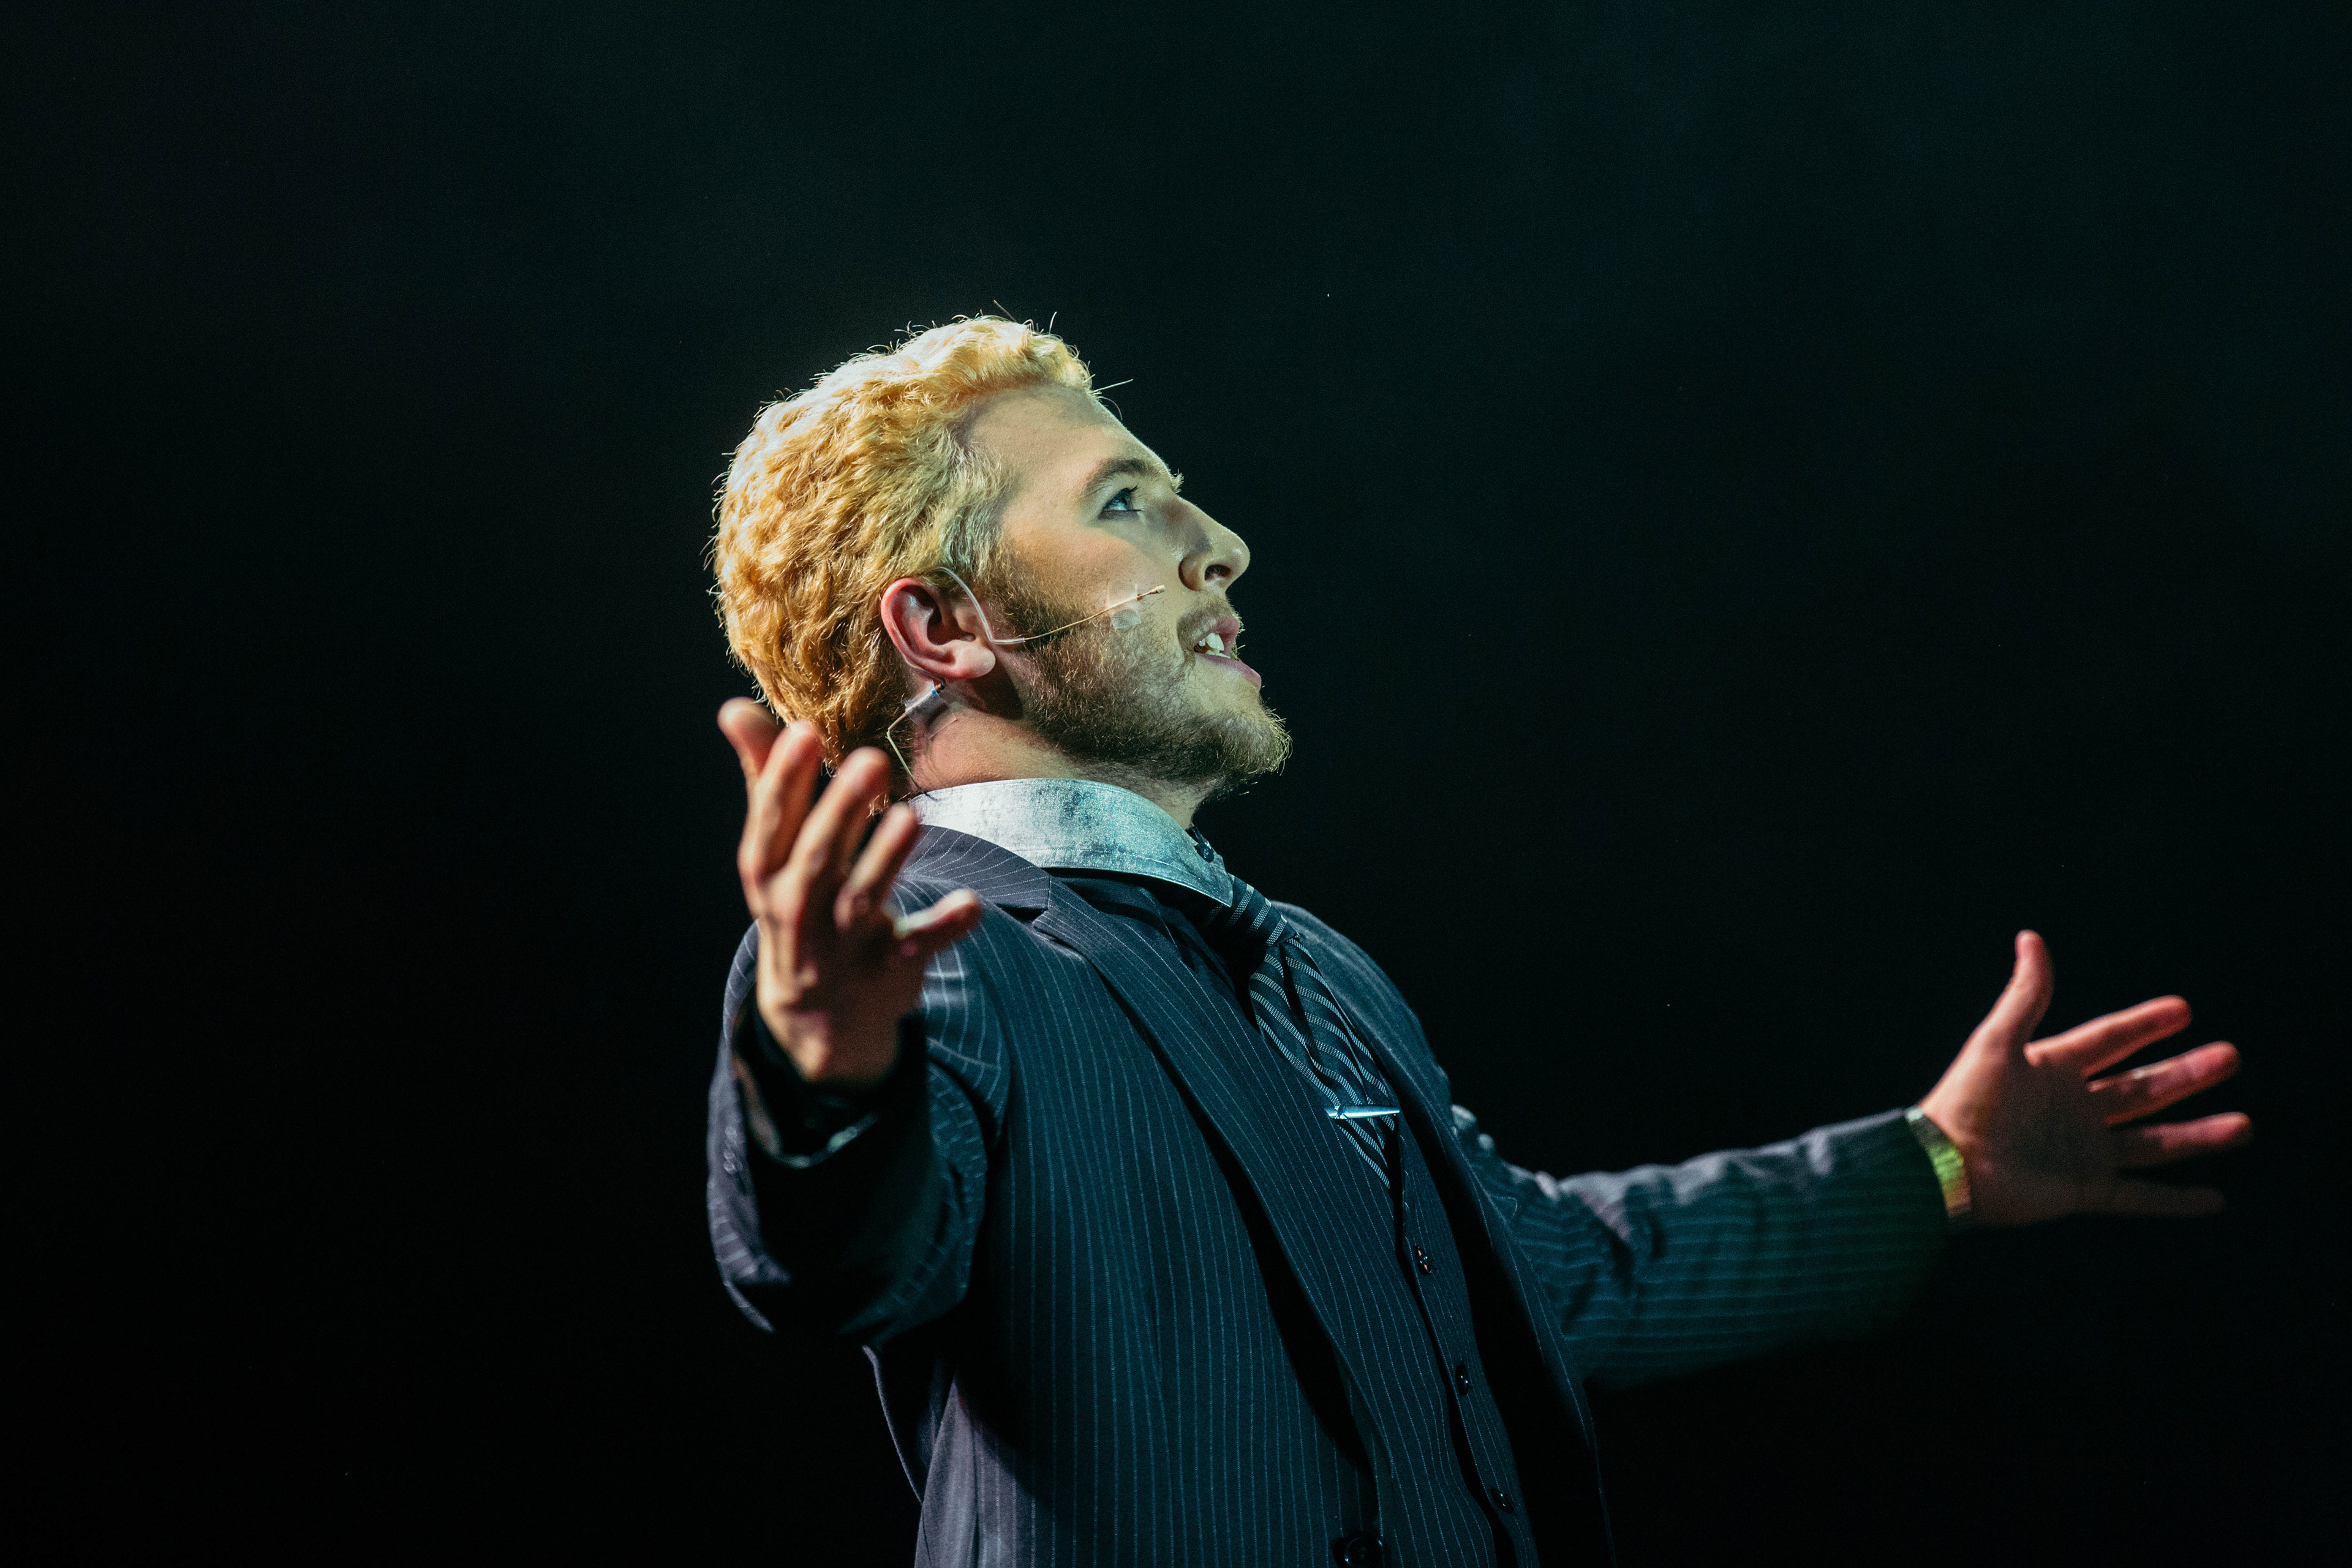
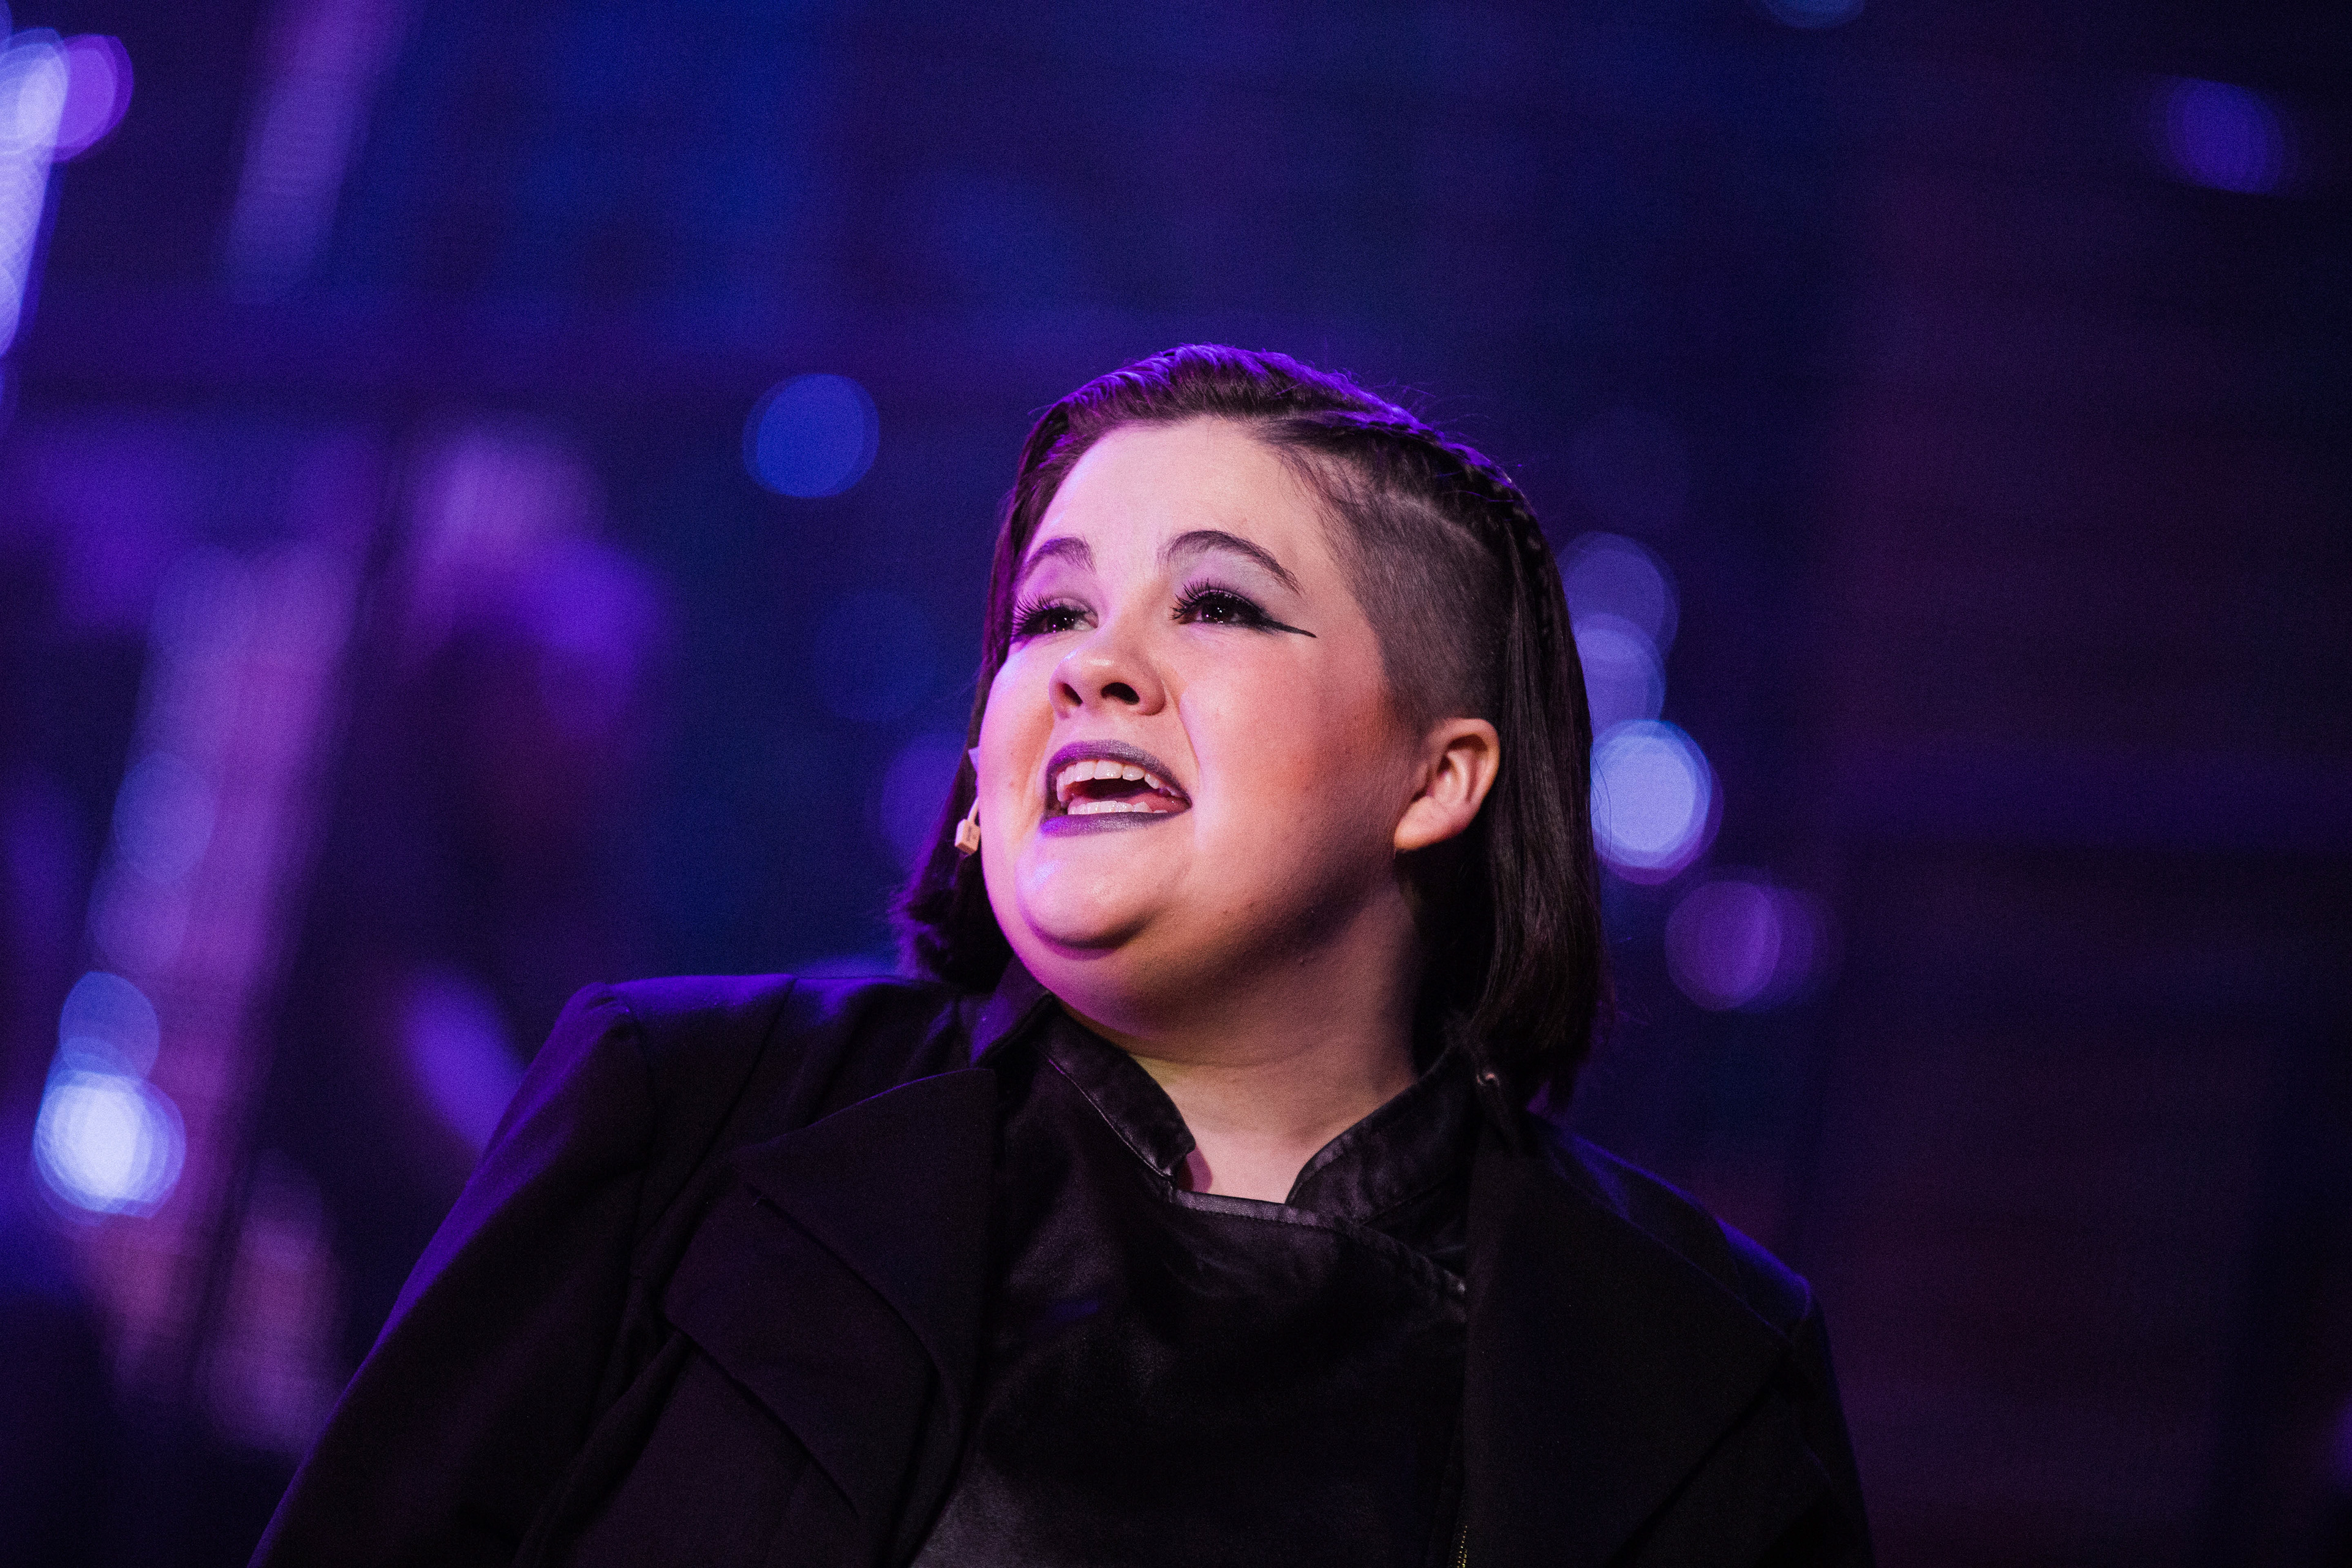
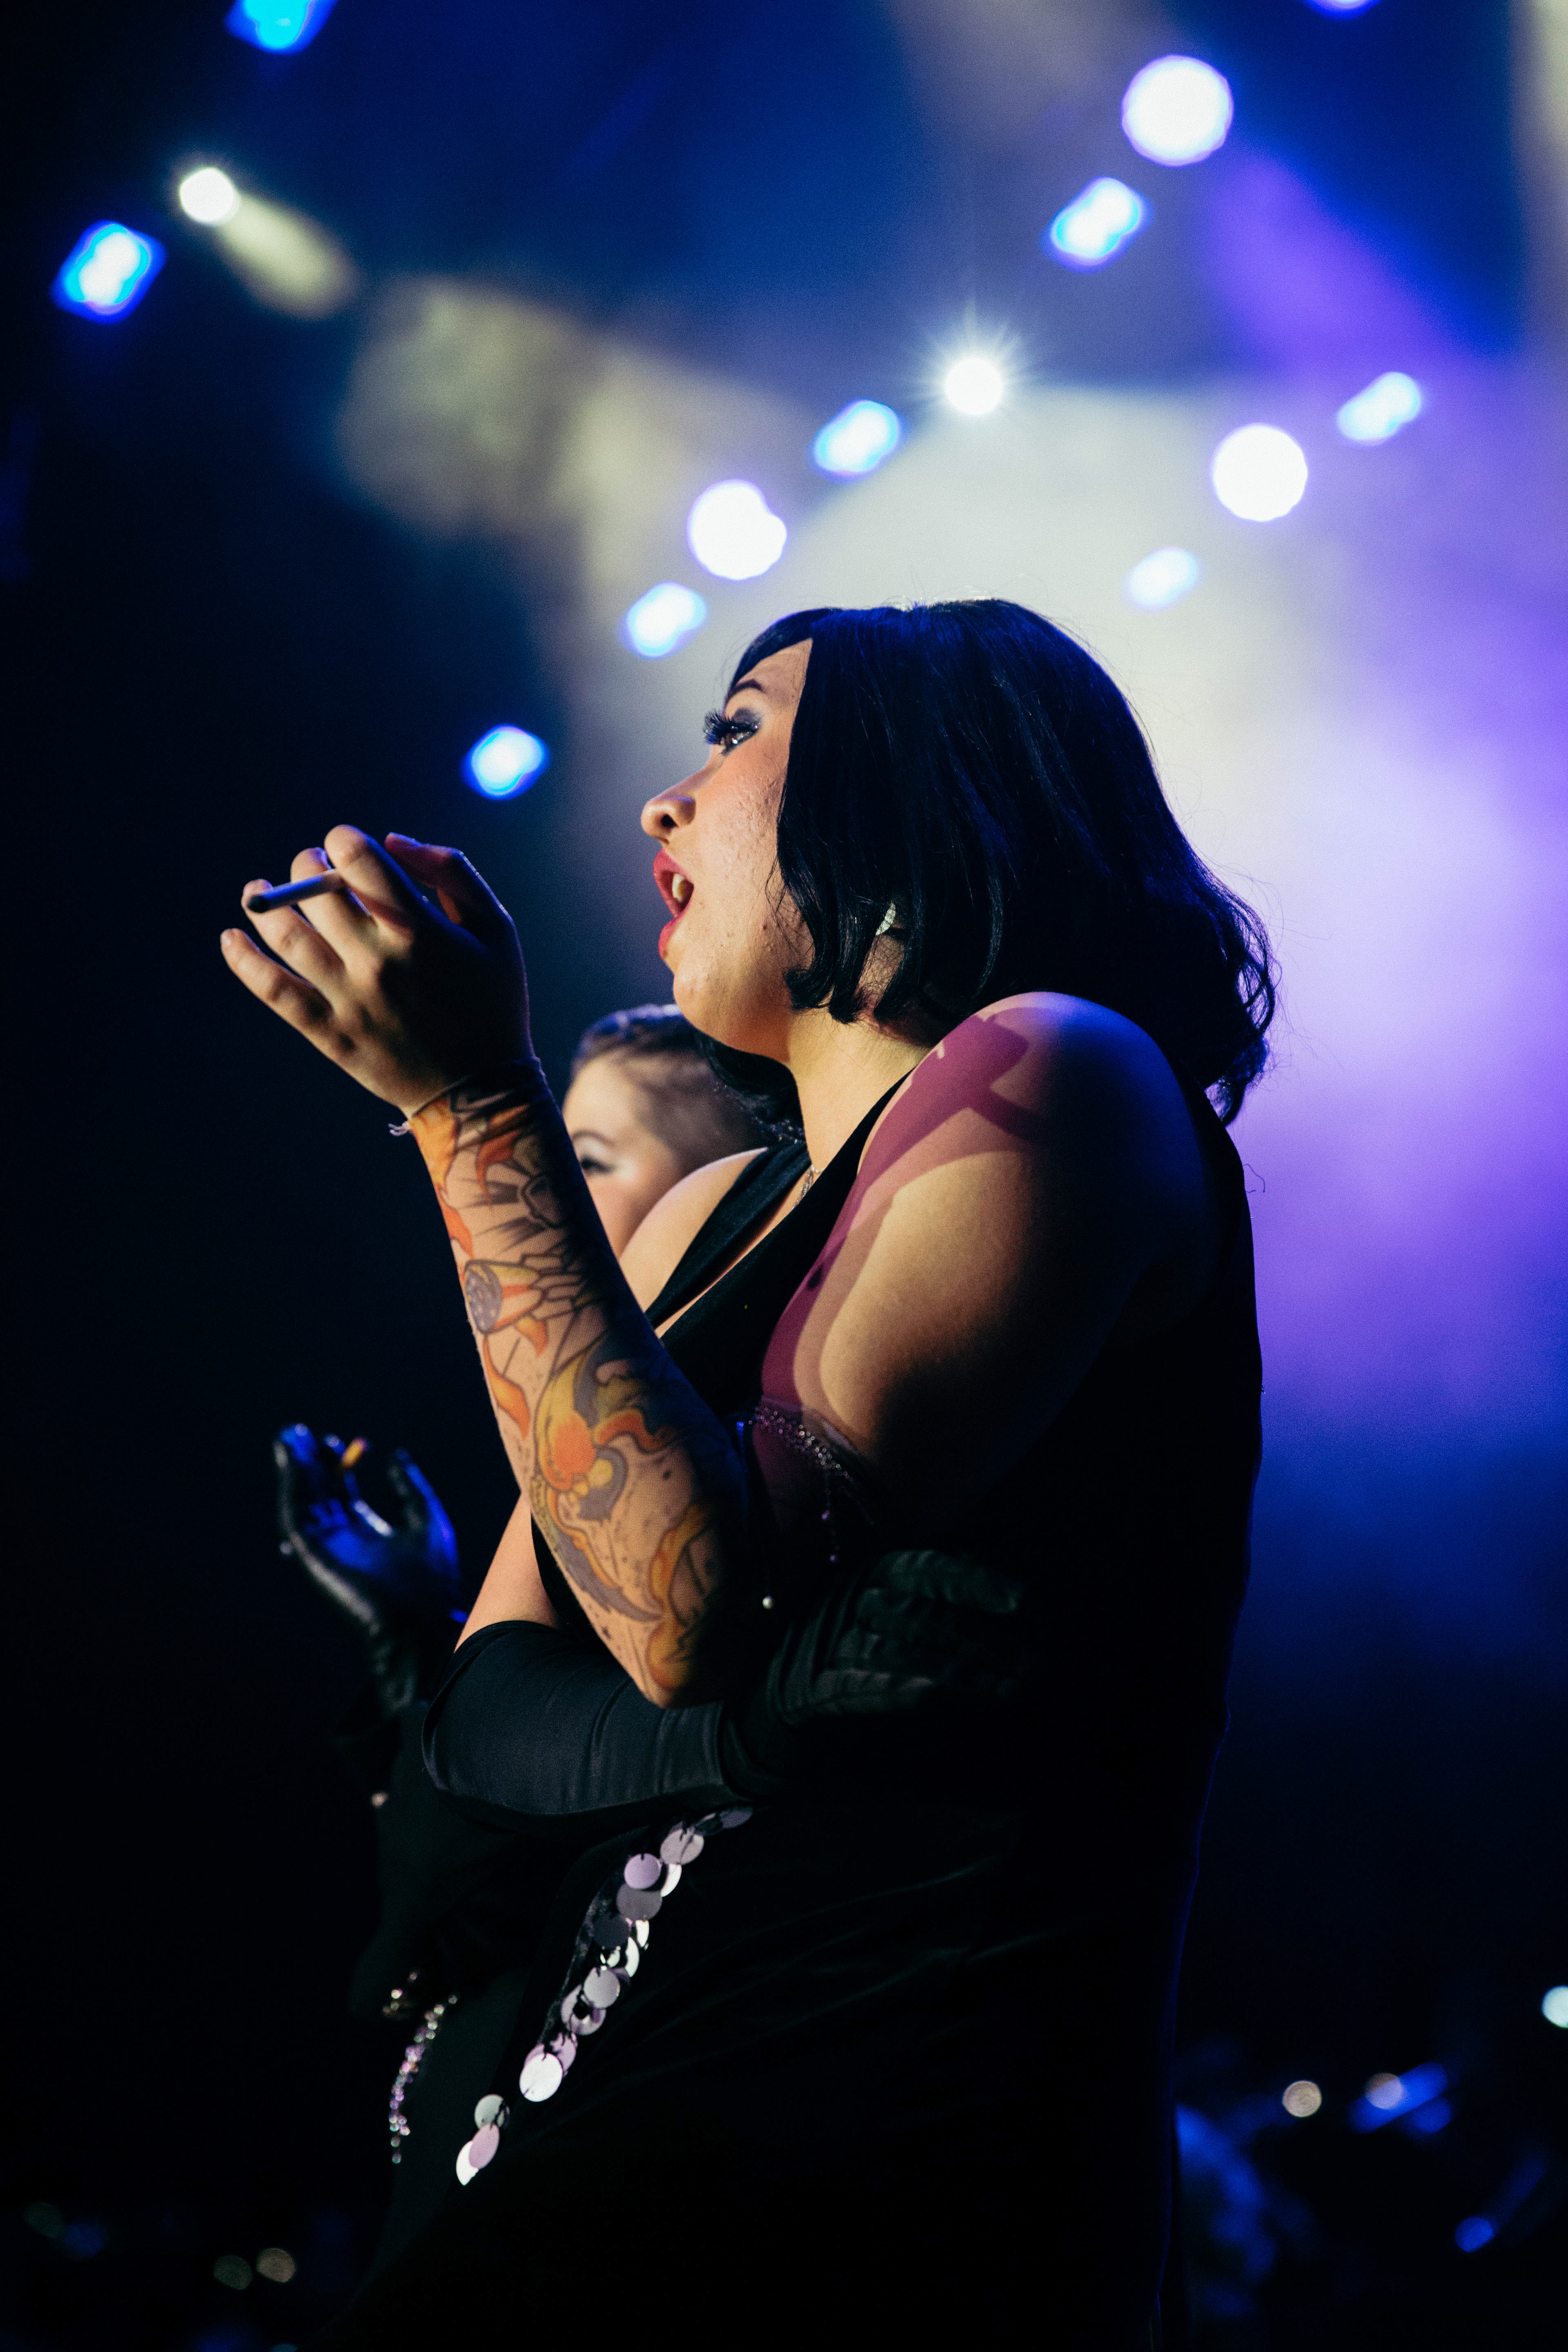
But then there is ISO, which will digitally add light into your photos at the expense of grain showing up in your image. This is what photographers call “noise.” We often avoid noise but will sometimes use it stylistically. ISO is one of the most powerful tools to brighten your photos. Here is a link to my works that required me to have my ISO up. You can notice noise around my images I all the tiny details. My settings for this show was as follows: Shutter speed: 320th of a second/ Aperture: f/2.8/ ISO: 6400. This can all be accomplished manually and is impossible to control with automatic mode. But let me explain why.
Night photos require you to work entirely manually. Automatic mode will often set your shutter speed to around a 30th of a second and your aperture to whatever it wants, with your ISO having a huge unwanted boost. Your camera’s only cares about getting it done, not about what it looks like. Night photos are near impossible to do with a tripod, so invest in one and while your at it, get a shutter release so you don’t actually have to touch your camera while trying to take the photo (an alternative is to set a timer for two seconds and any motion your finger causes on your camera will wear off by the time it begins to shoot. Many photographers will recommend you take the photo multiple times in a row and change the settings multiple times so that you can get even and consistent light by blending in two to a couple photos in Photoshop.
To repeat: you cannot do night photography without understanding how to work manual mode, for most cameras just switch to "M" and use a dial to select what you want your camera to shoot in. A true photographer will master these basics before charging money. Here is an overall link to night photography if you are still confused and need a visual demonstration. And yes, these tips work amazing for indoor photos to. Next week tune in to find out why you can't get those nice sharp photos with your subject in focus and the background blurred out.